design behind the scenes | Radiance Condo Round 2

A lot can happen in ten years! When I first moved into my one bedroom plus den condo, I was young, single, and didn’t have much money to invest in my space. Since then, I’ve gotten married and welcomed my first child into the world. Believe it or not, all three of us (plus a fur-baby) still live in that same one bedroom plus den condo.
The big design dilemmas that needed to be addressed:
Not enough storage space. I’m sure many people who live in condos can relate to this one.
Space allocation and function. I needed my condo to function for my husband and I, but also for a baby and a pet bunny, plus all the necessary gear for each.
The design no longer reflected my own personal style, but more importantly it didn’t reflect the collective aesthetic of my husband and I.
living
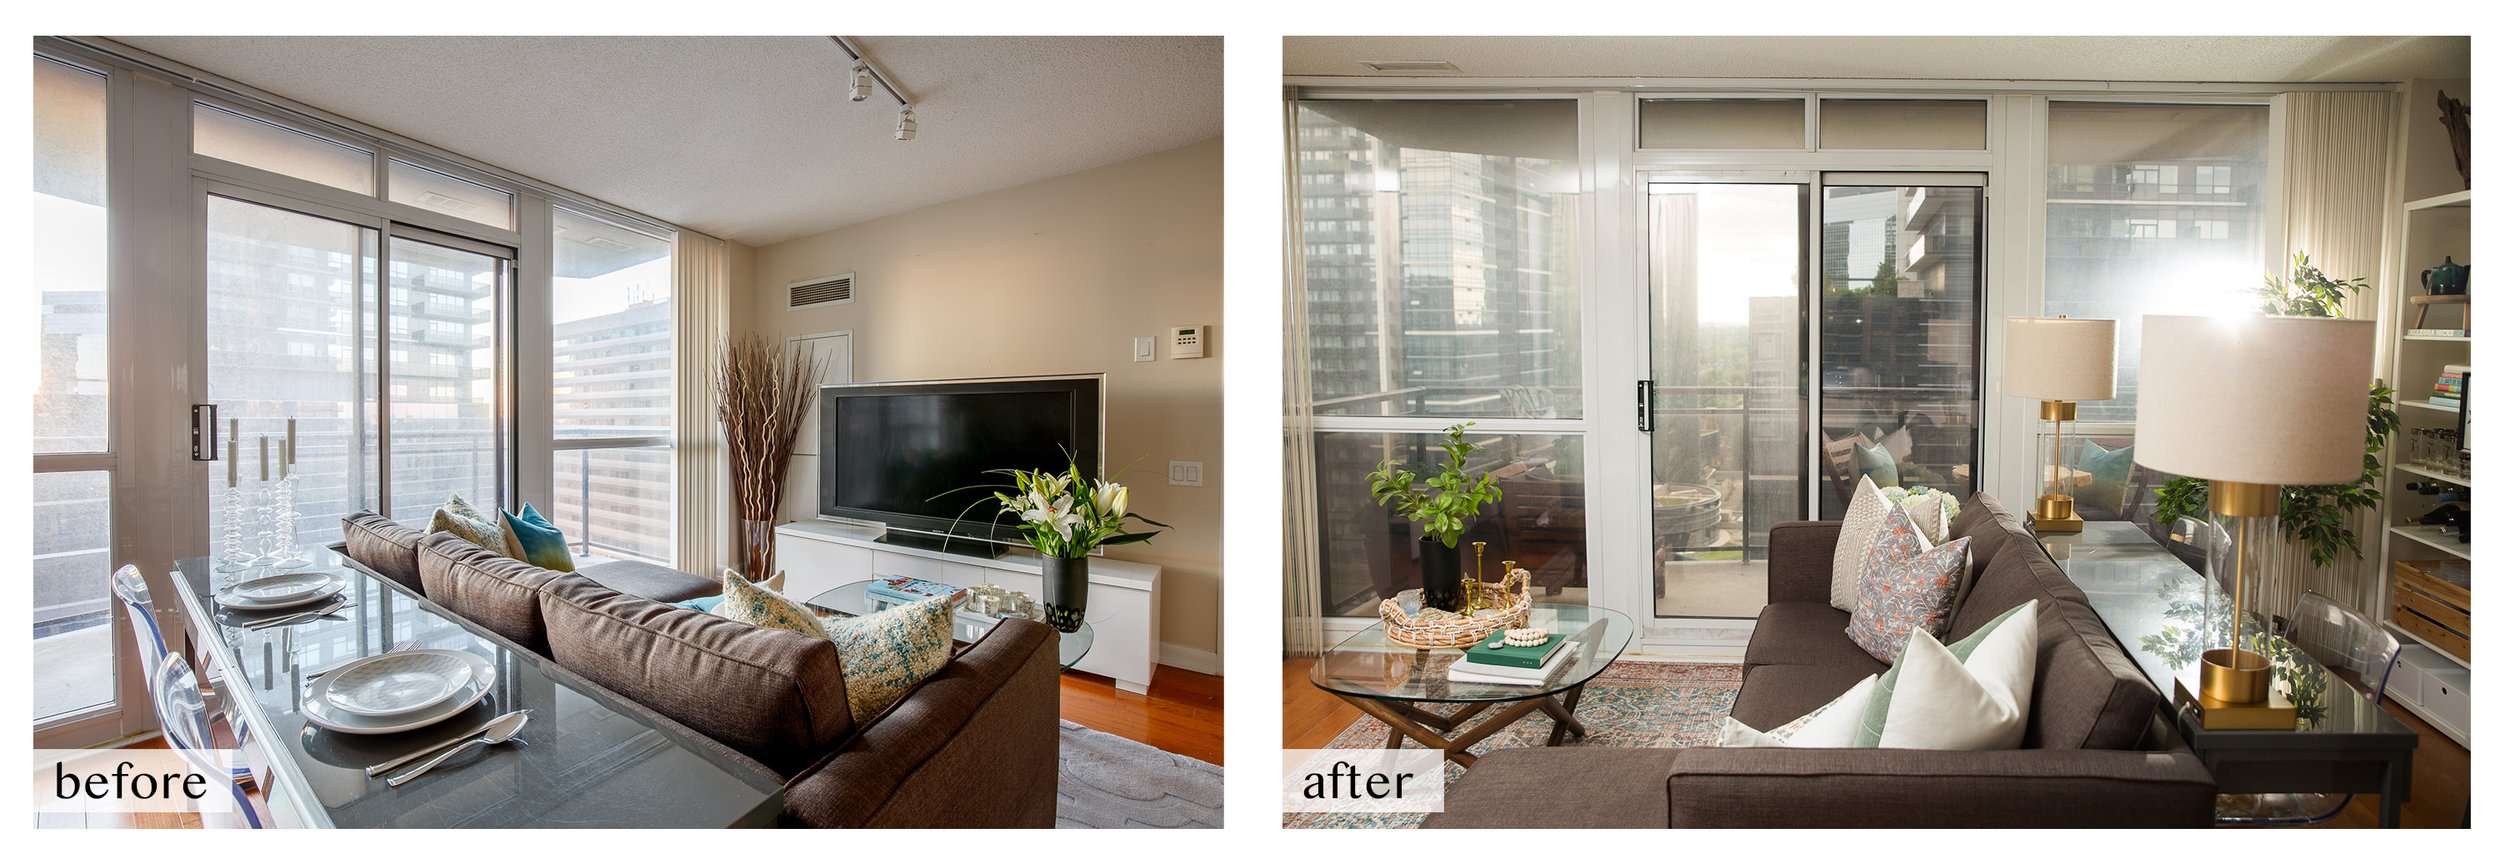
In order to maximize the limited space available to me, there were two things I did immediately. The first was to flip the “living” and “dining” zones, which allowed for better flow from the kitchen to the dining area. The second was to use the vertical space as much as the floor space, which allowed me to not only include a living and dining zone, but also a large pantry (complete with a mini freezer), an office space, overflow storage, and finally a nursery (more on that to come).
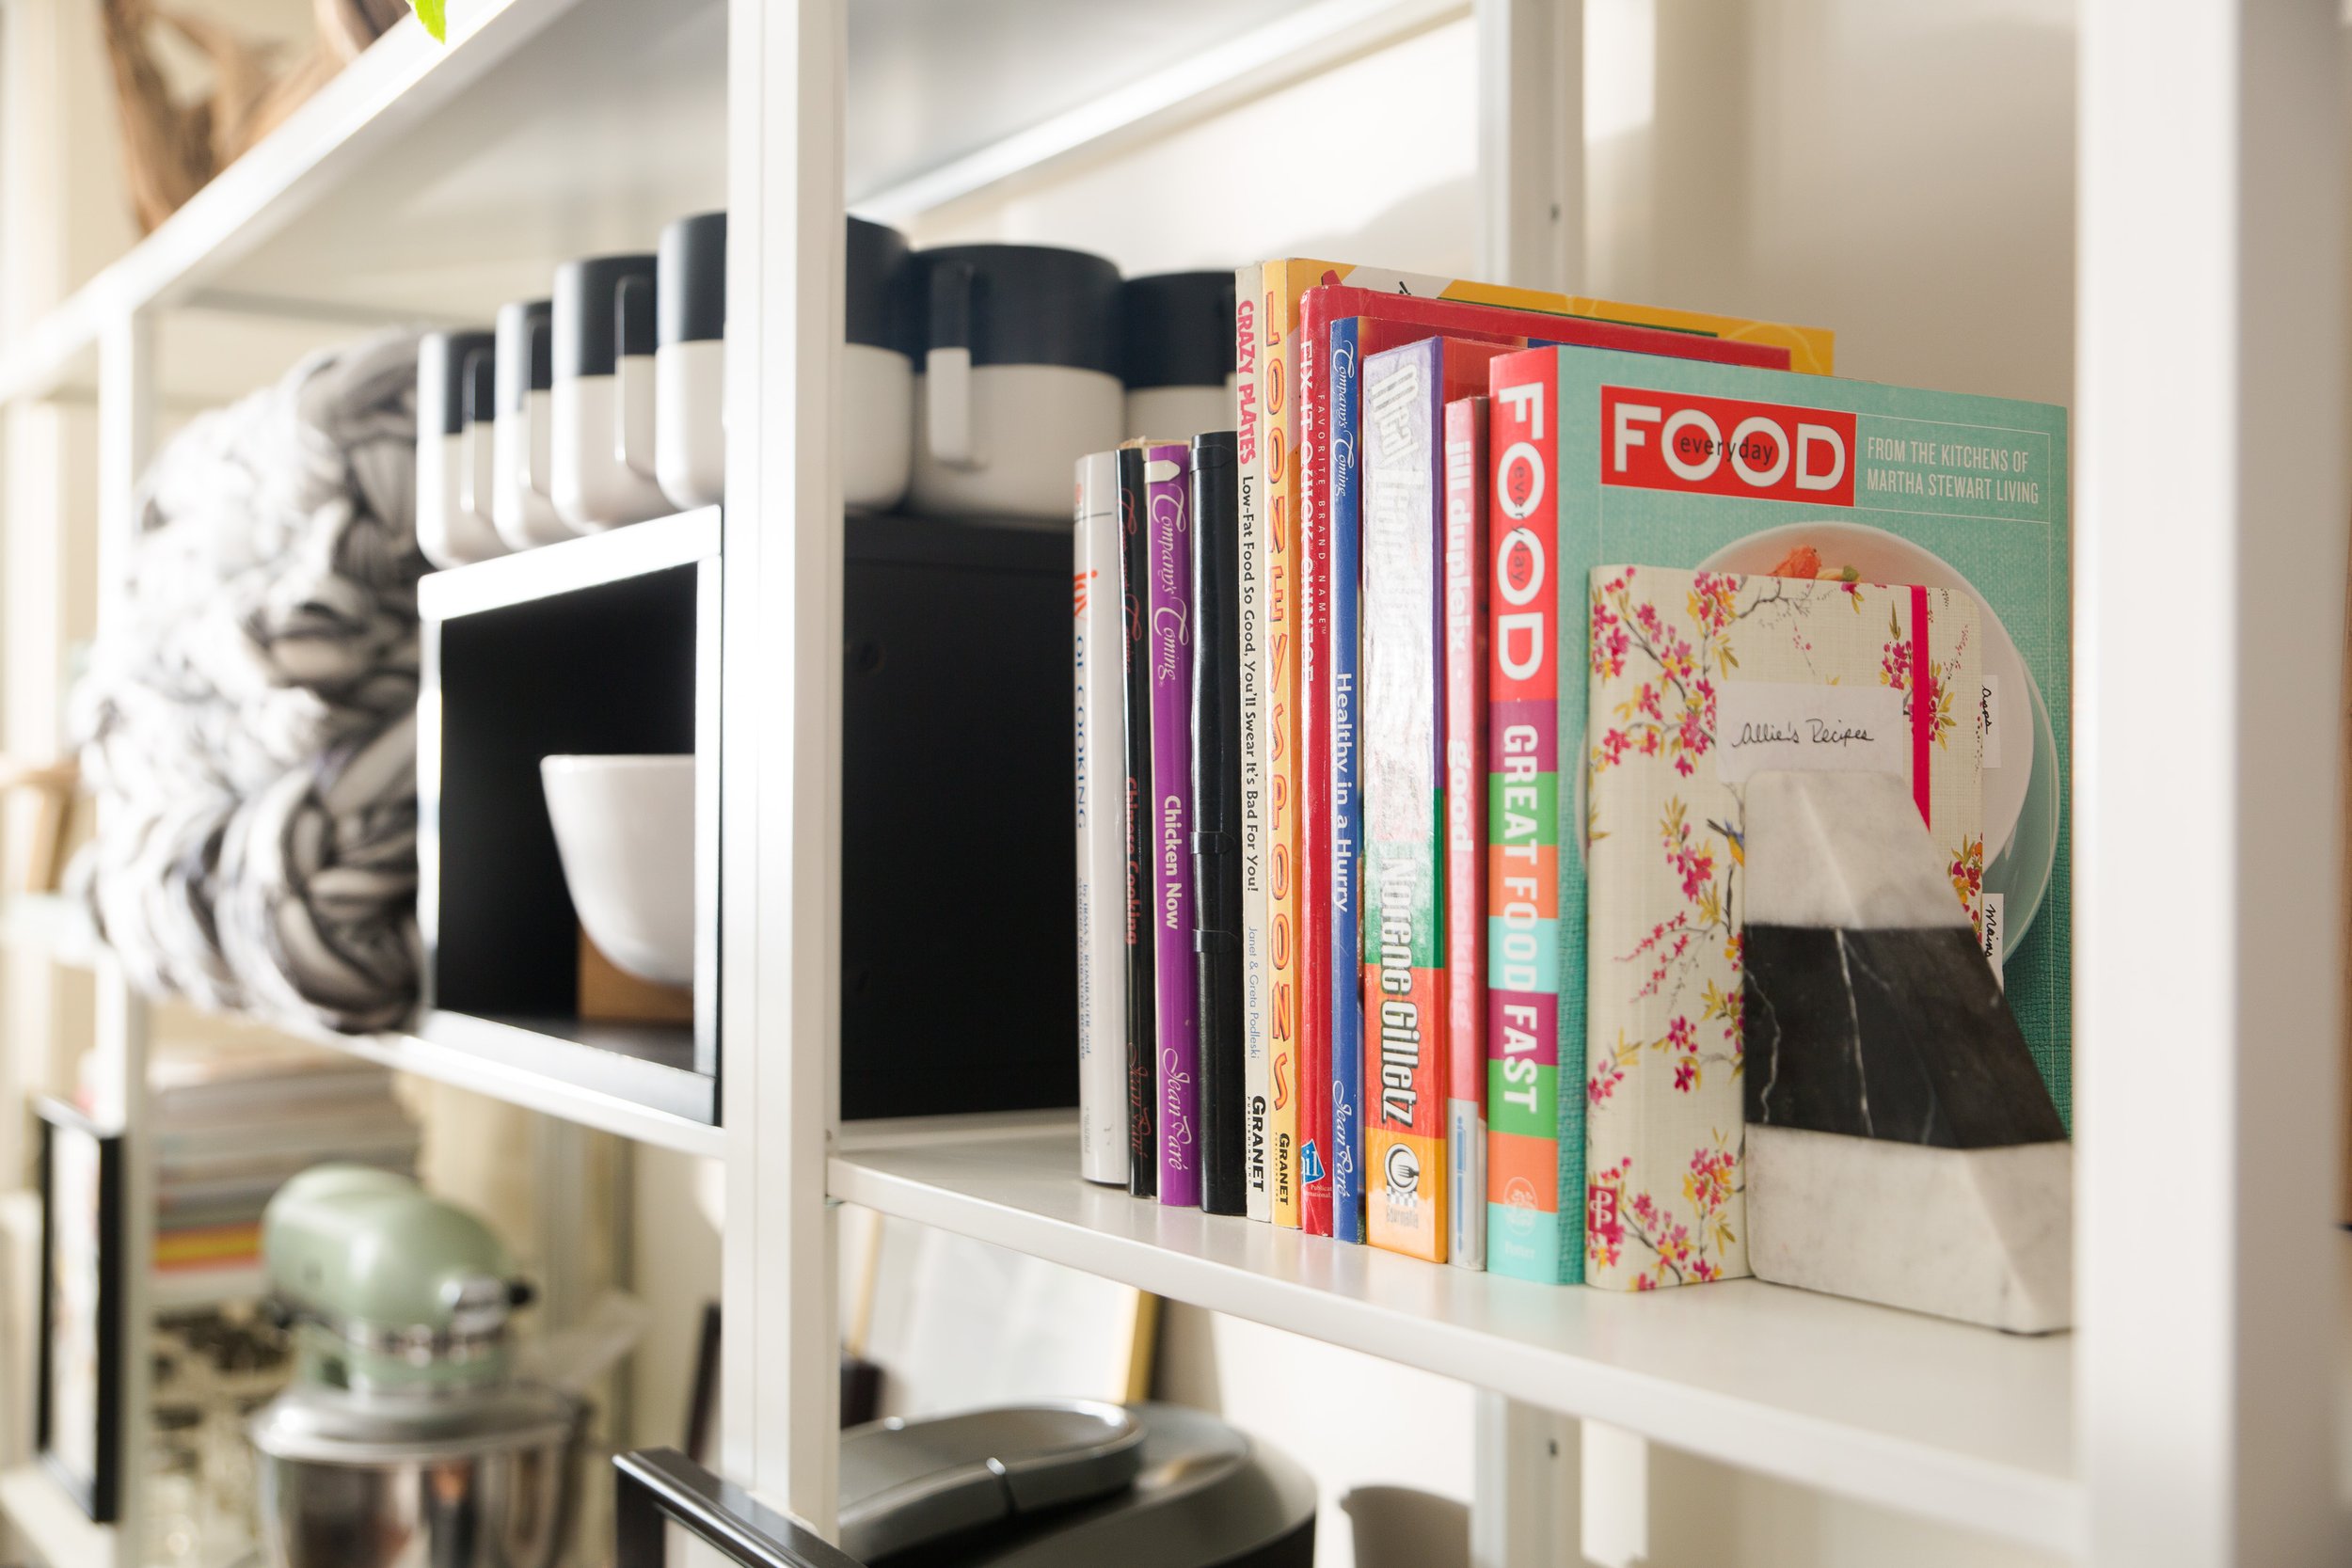
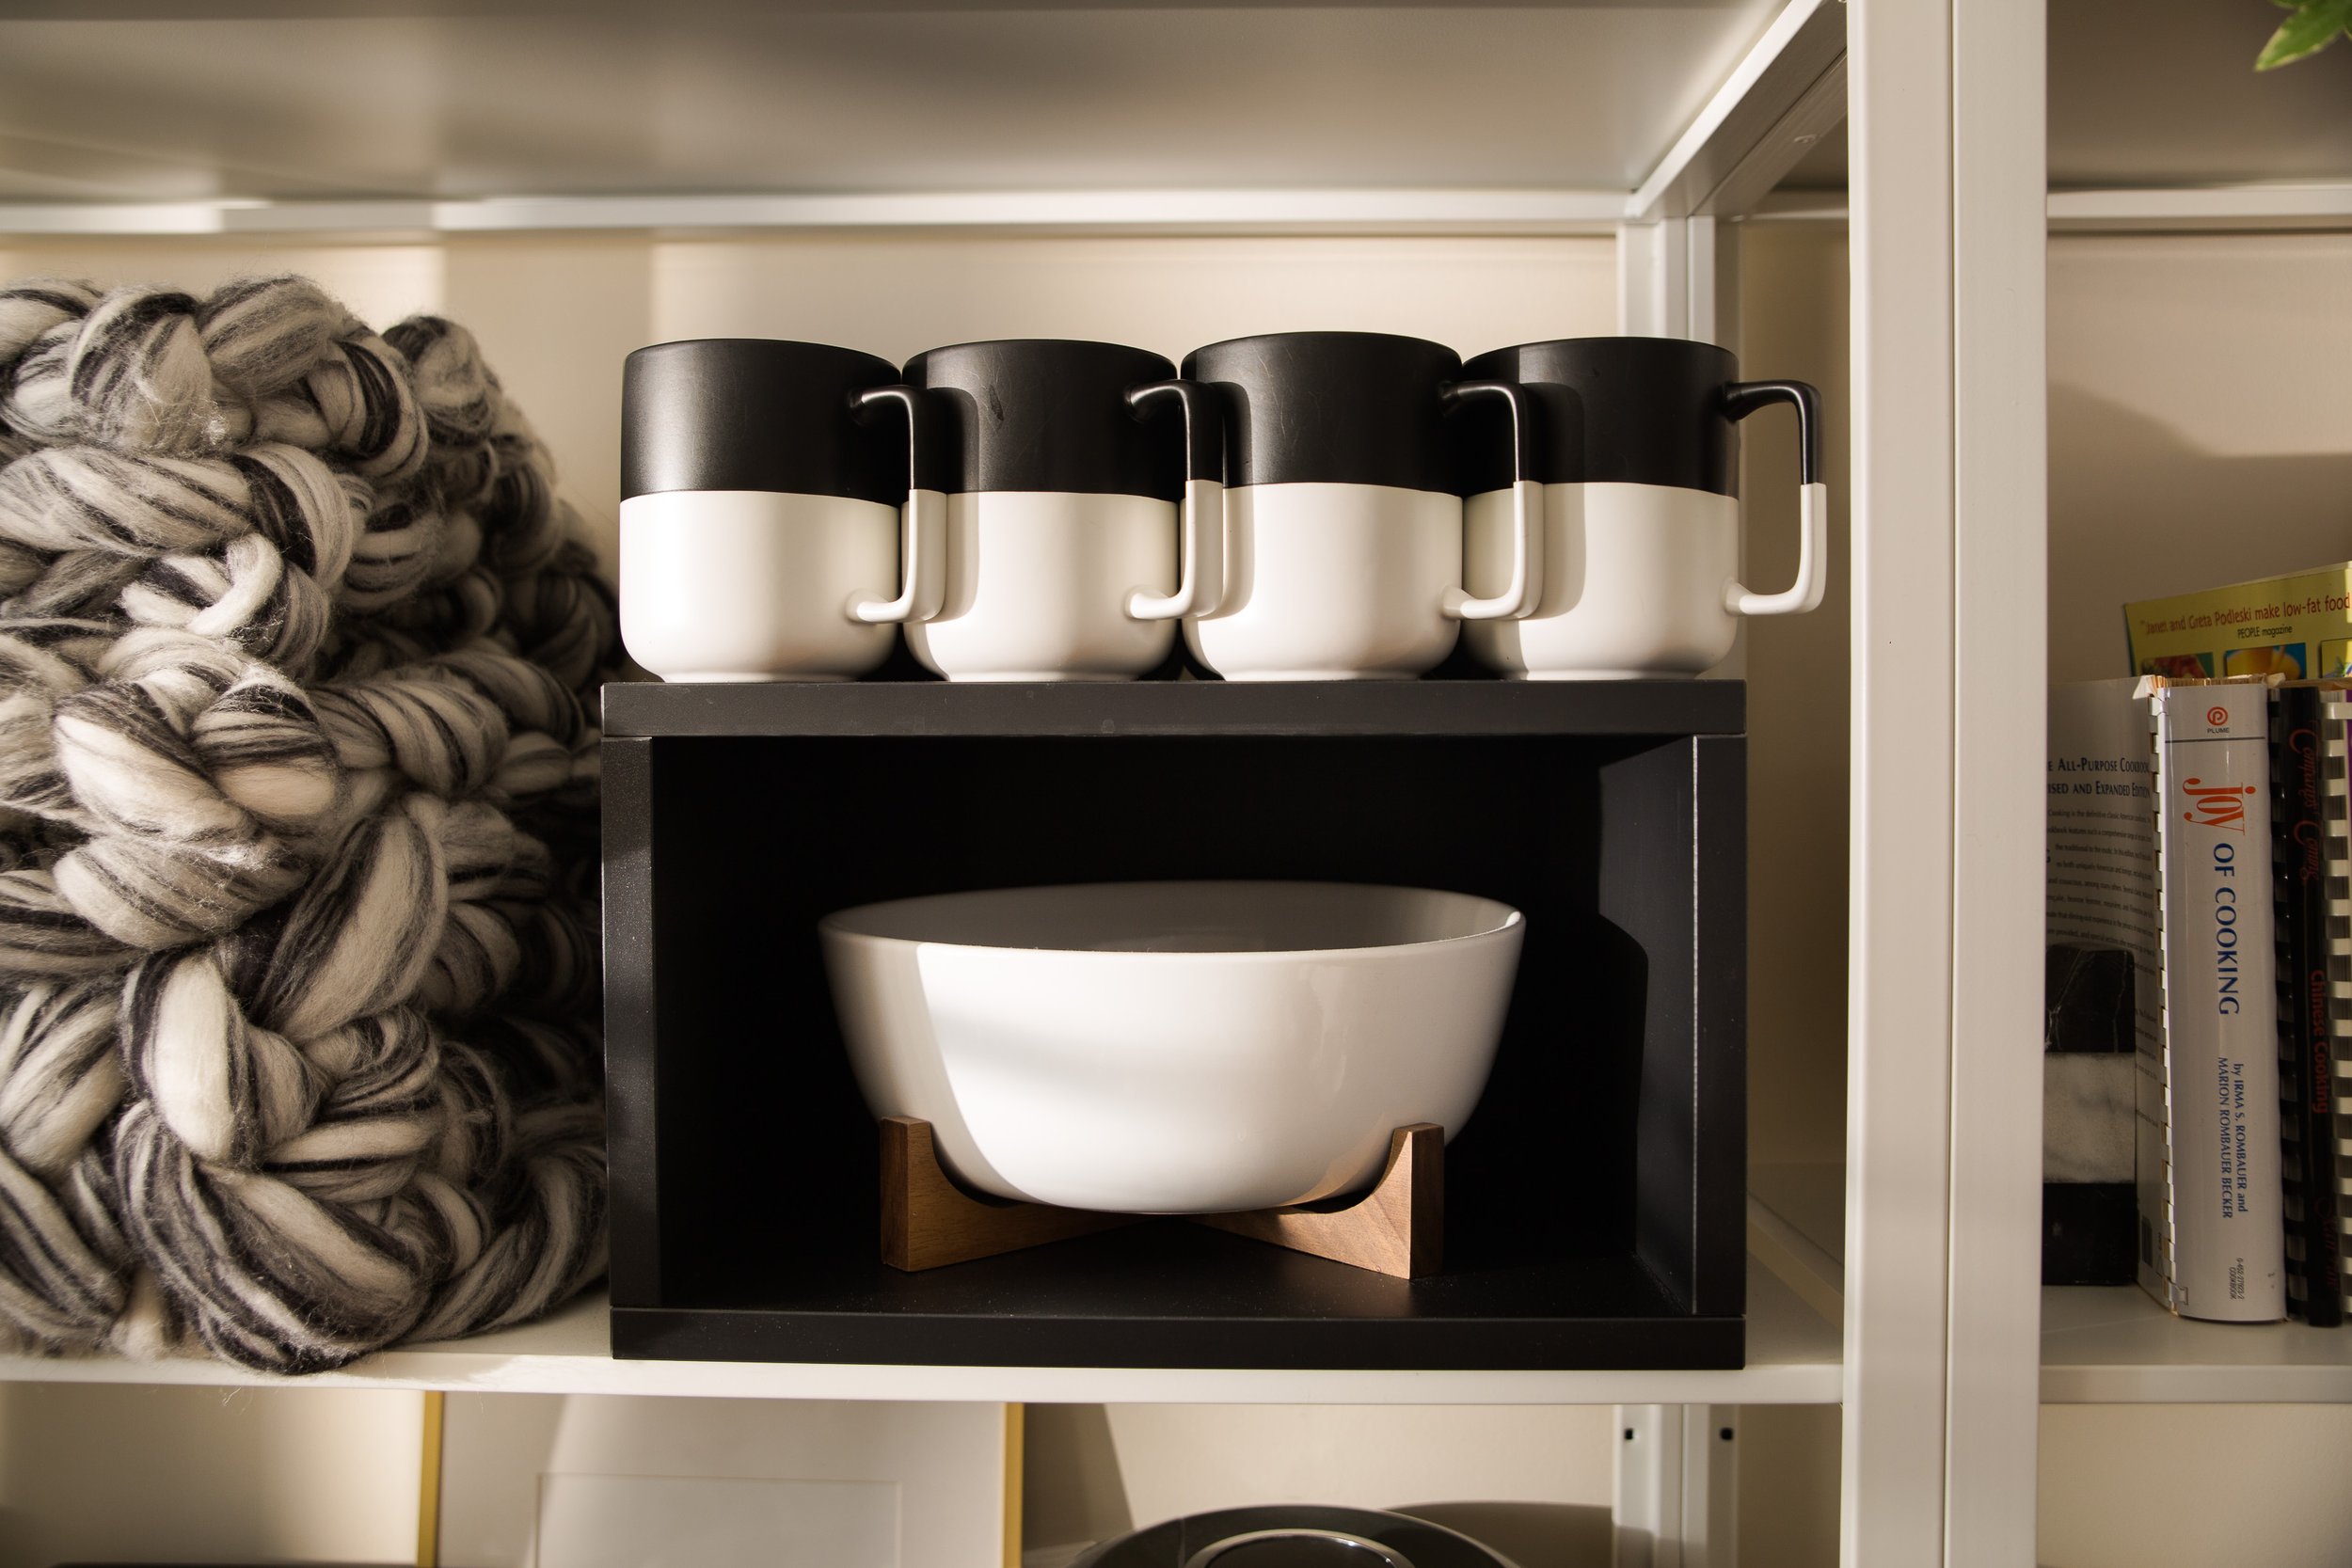
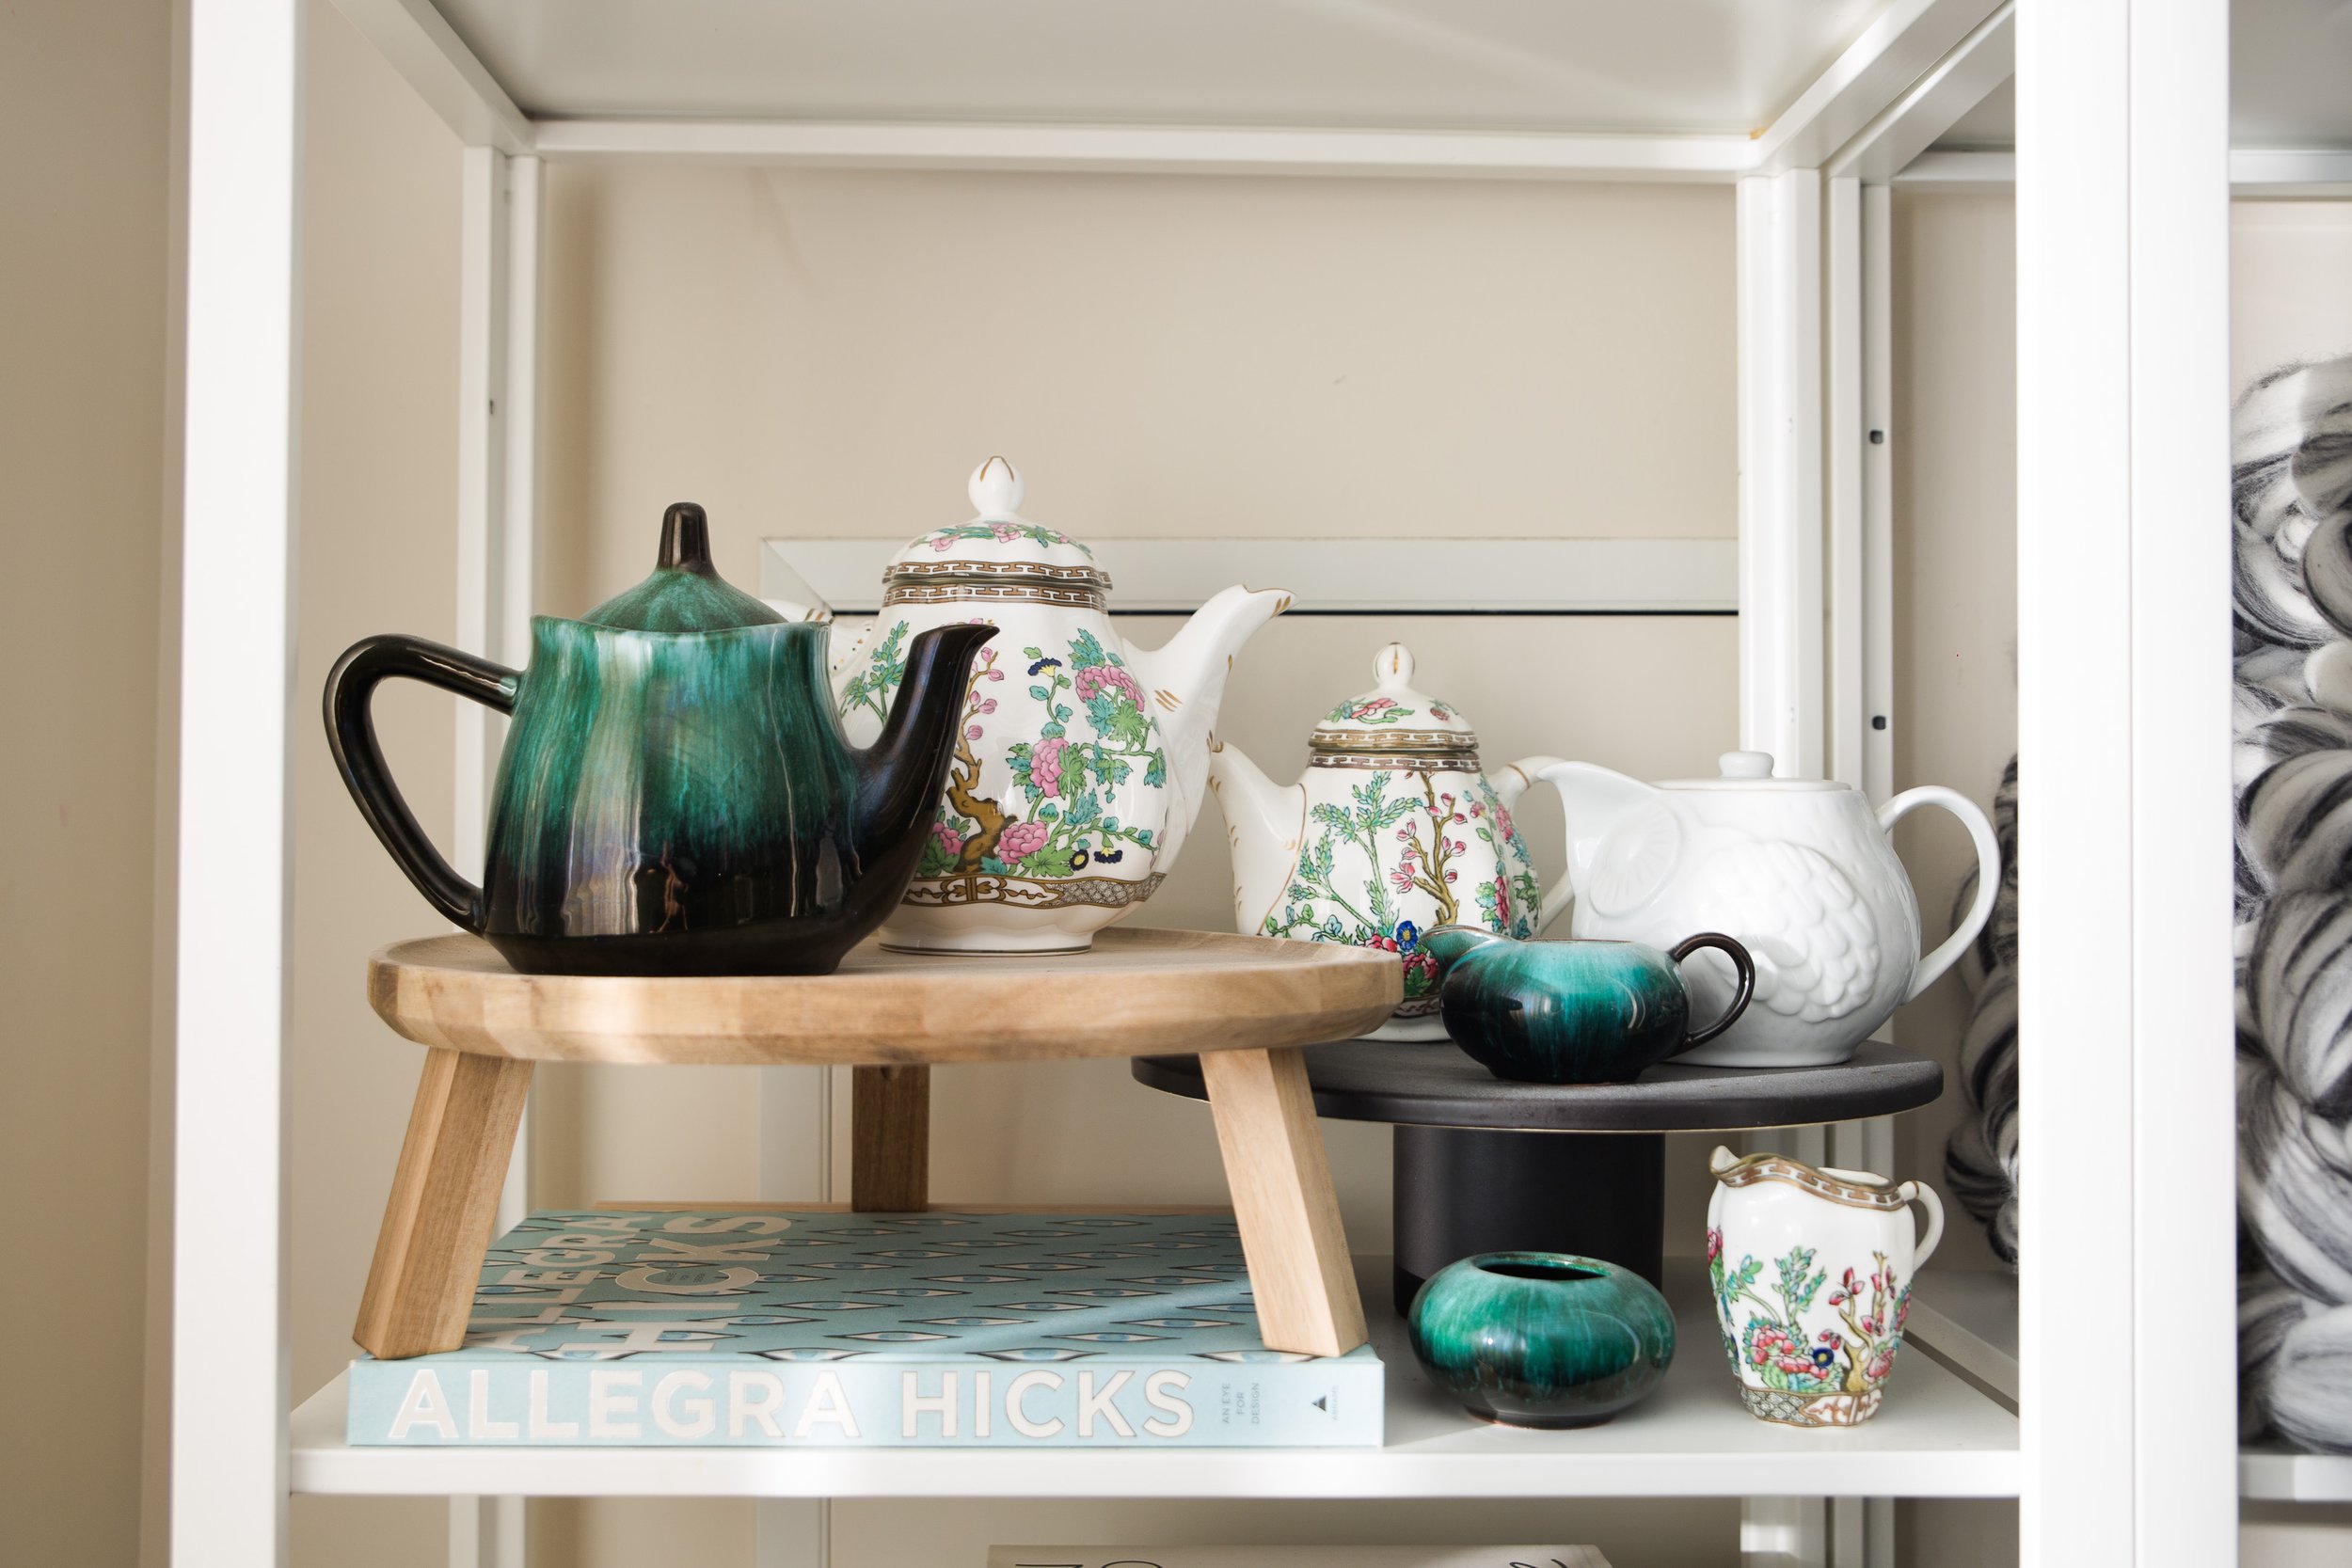
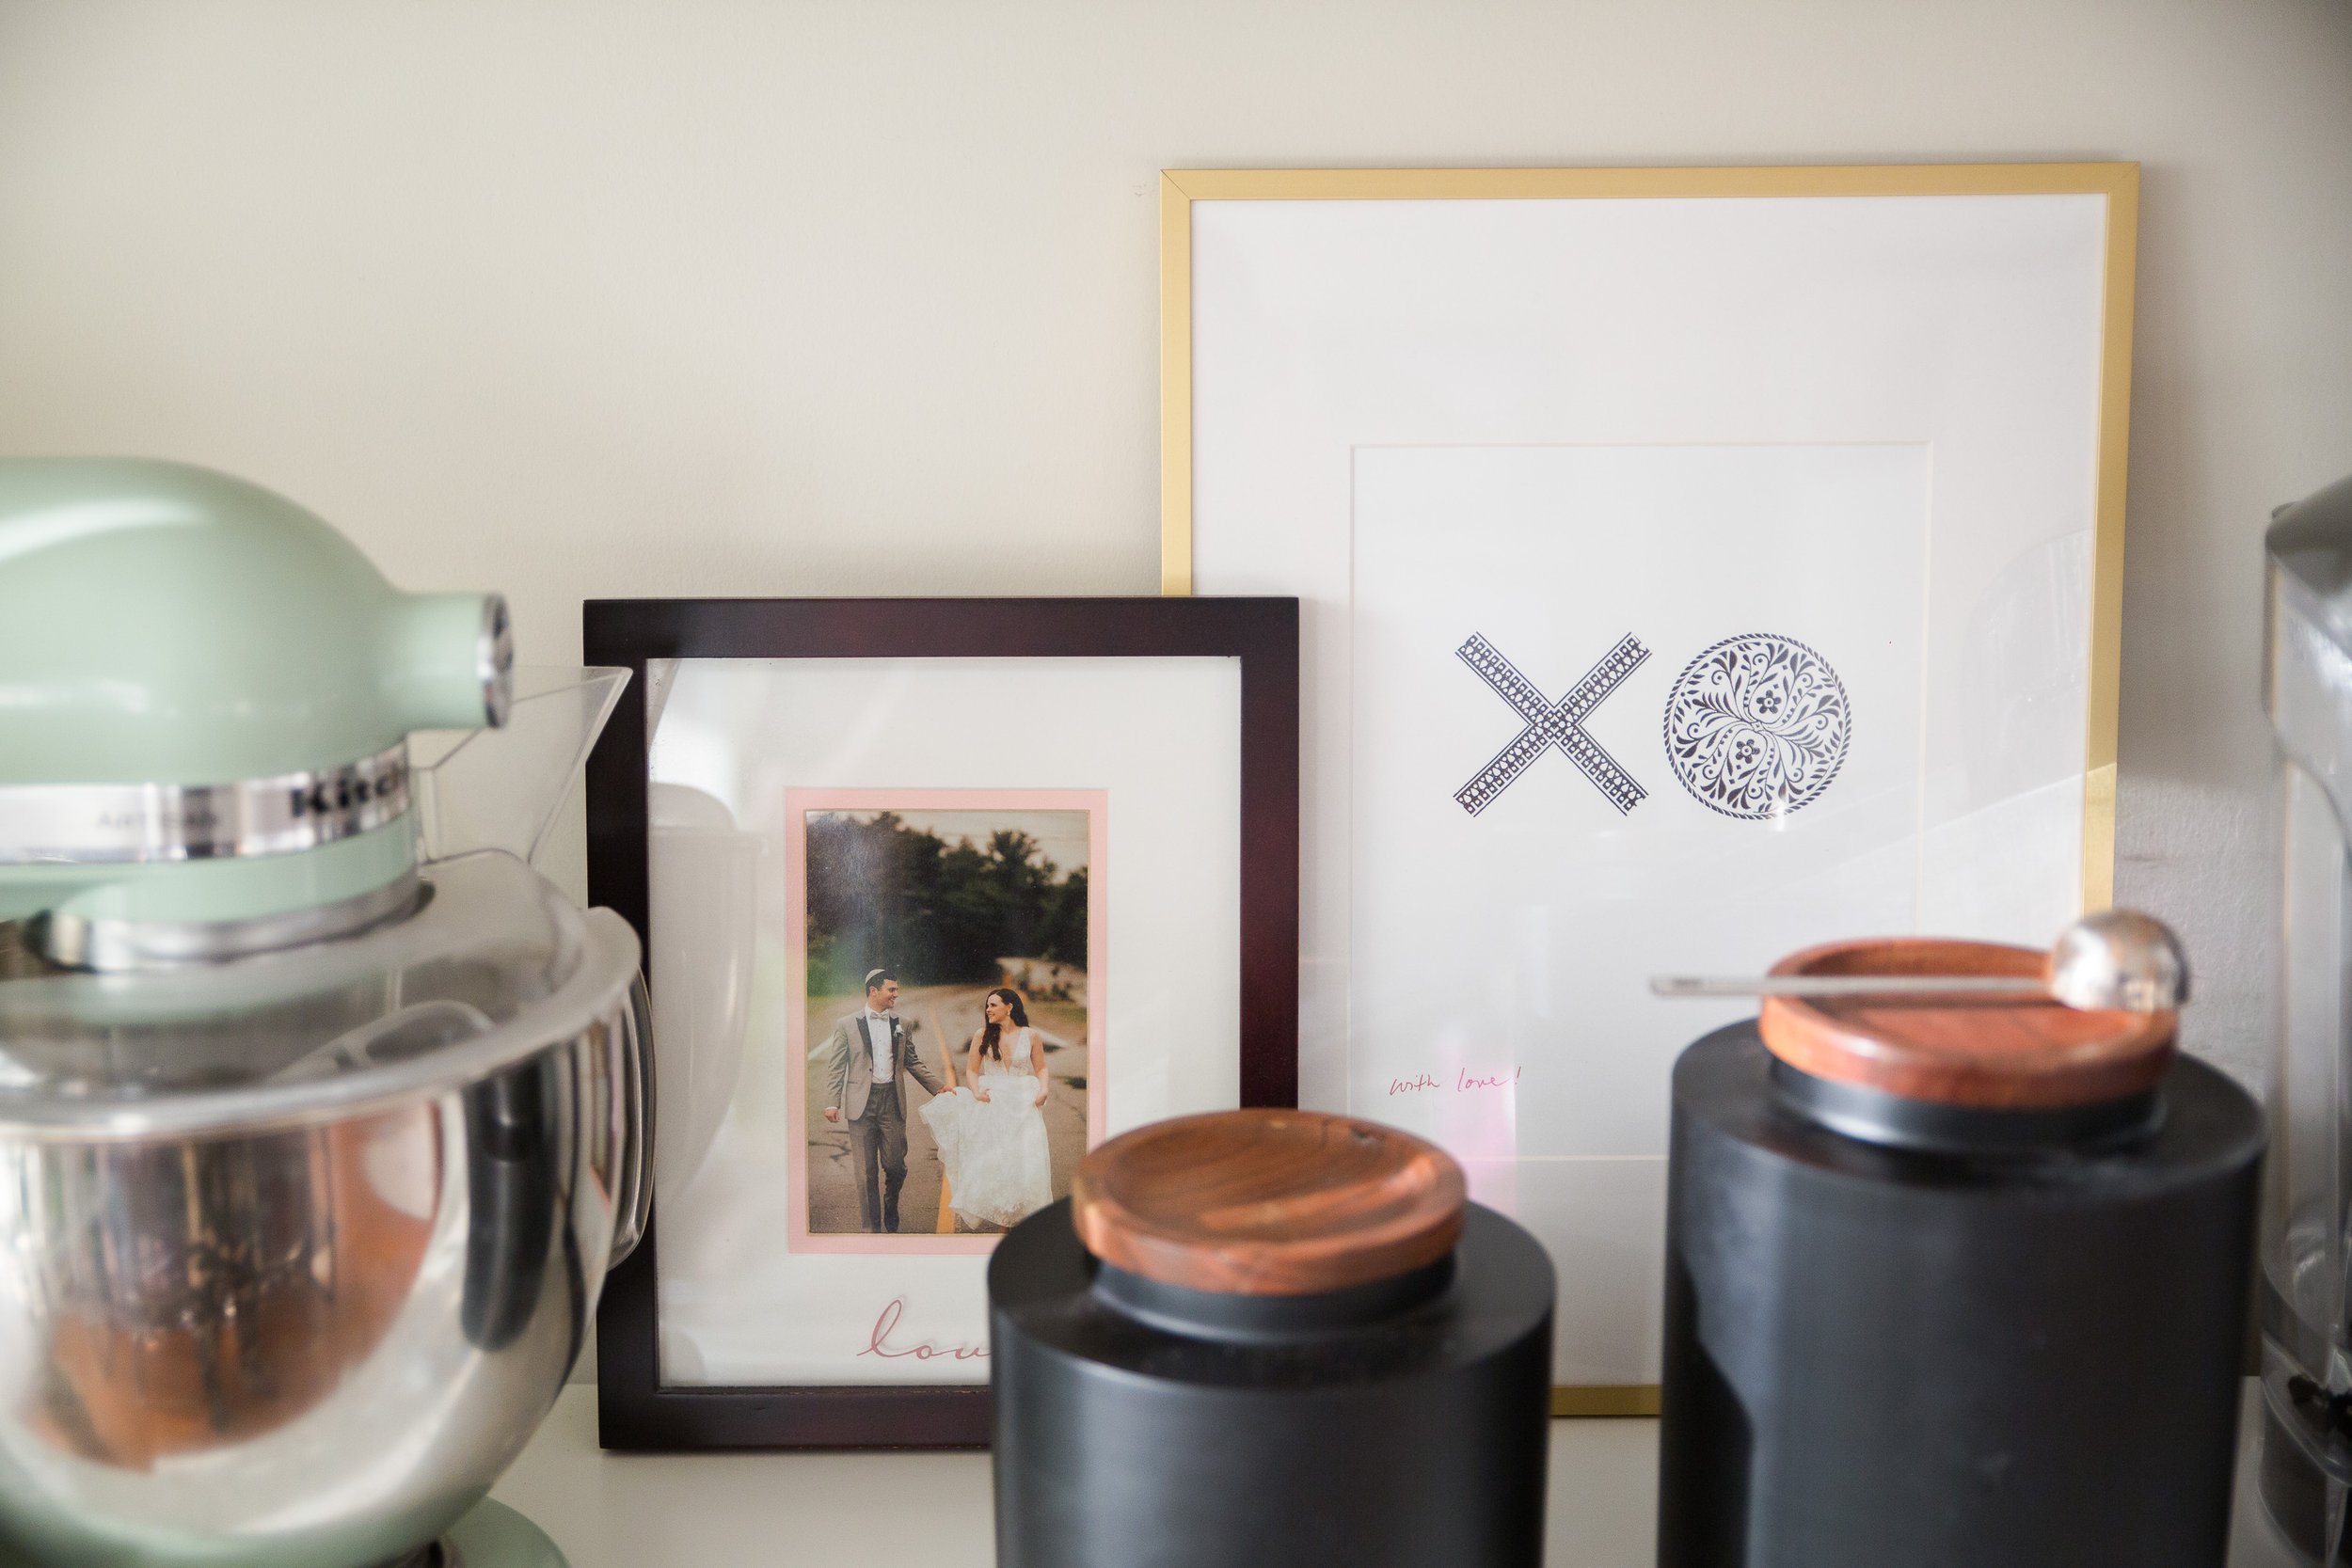
Like most condos, my kitchen is small and leaves a lot to be desired when it comes to storage options and counter space. By adding large bookcases to fill the wall in the dining area, I was able to store and display many kitchen items that otherwise didn’t have a home. For example, I don’t have enough counter space for a coffee maker (an essential in my home), so the bookcase was the perfect spot for it. By including my mugs above, coffee and tea close by, I’m able to create a one-stop station steps away from my kitchen. This bonus kitchen space is also used to store common items including cook books, snacks, mixing bowls, grocery bags, containers for meal prep, and the list goes on.

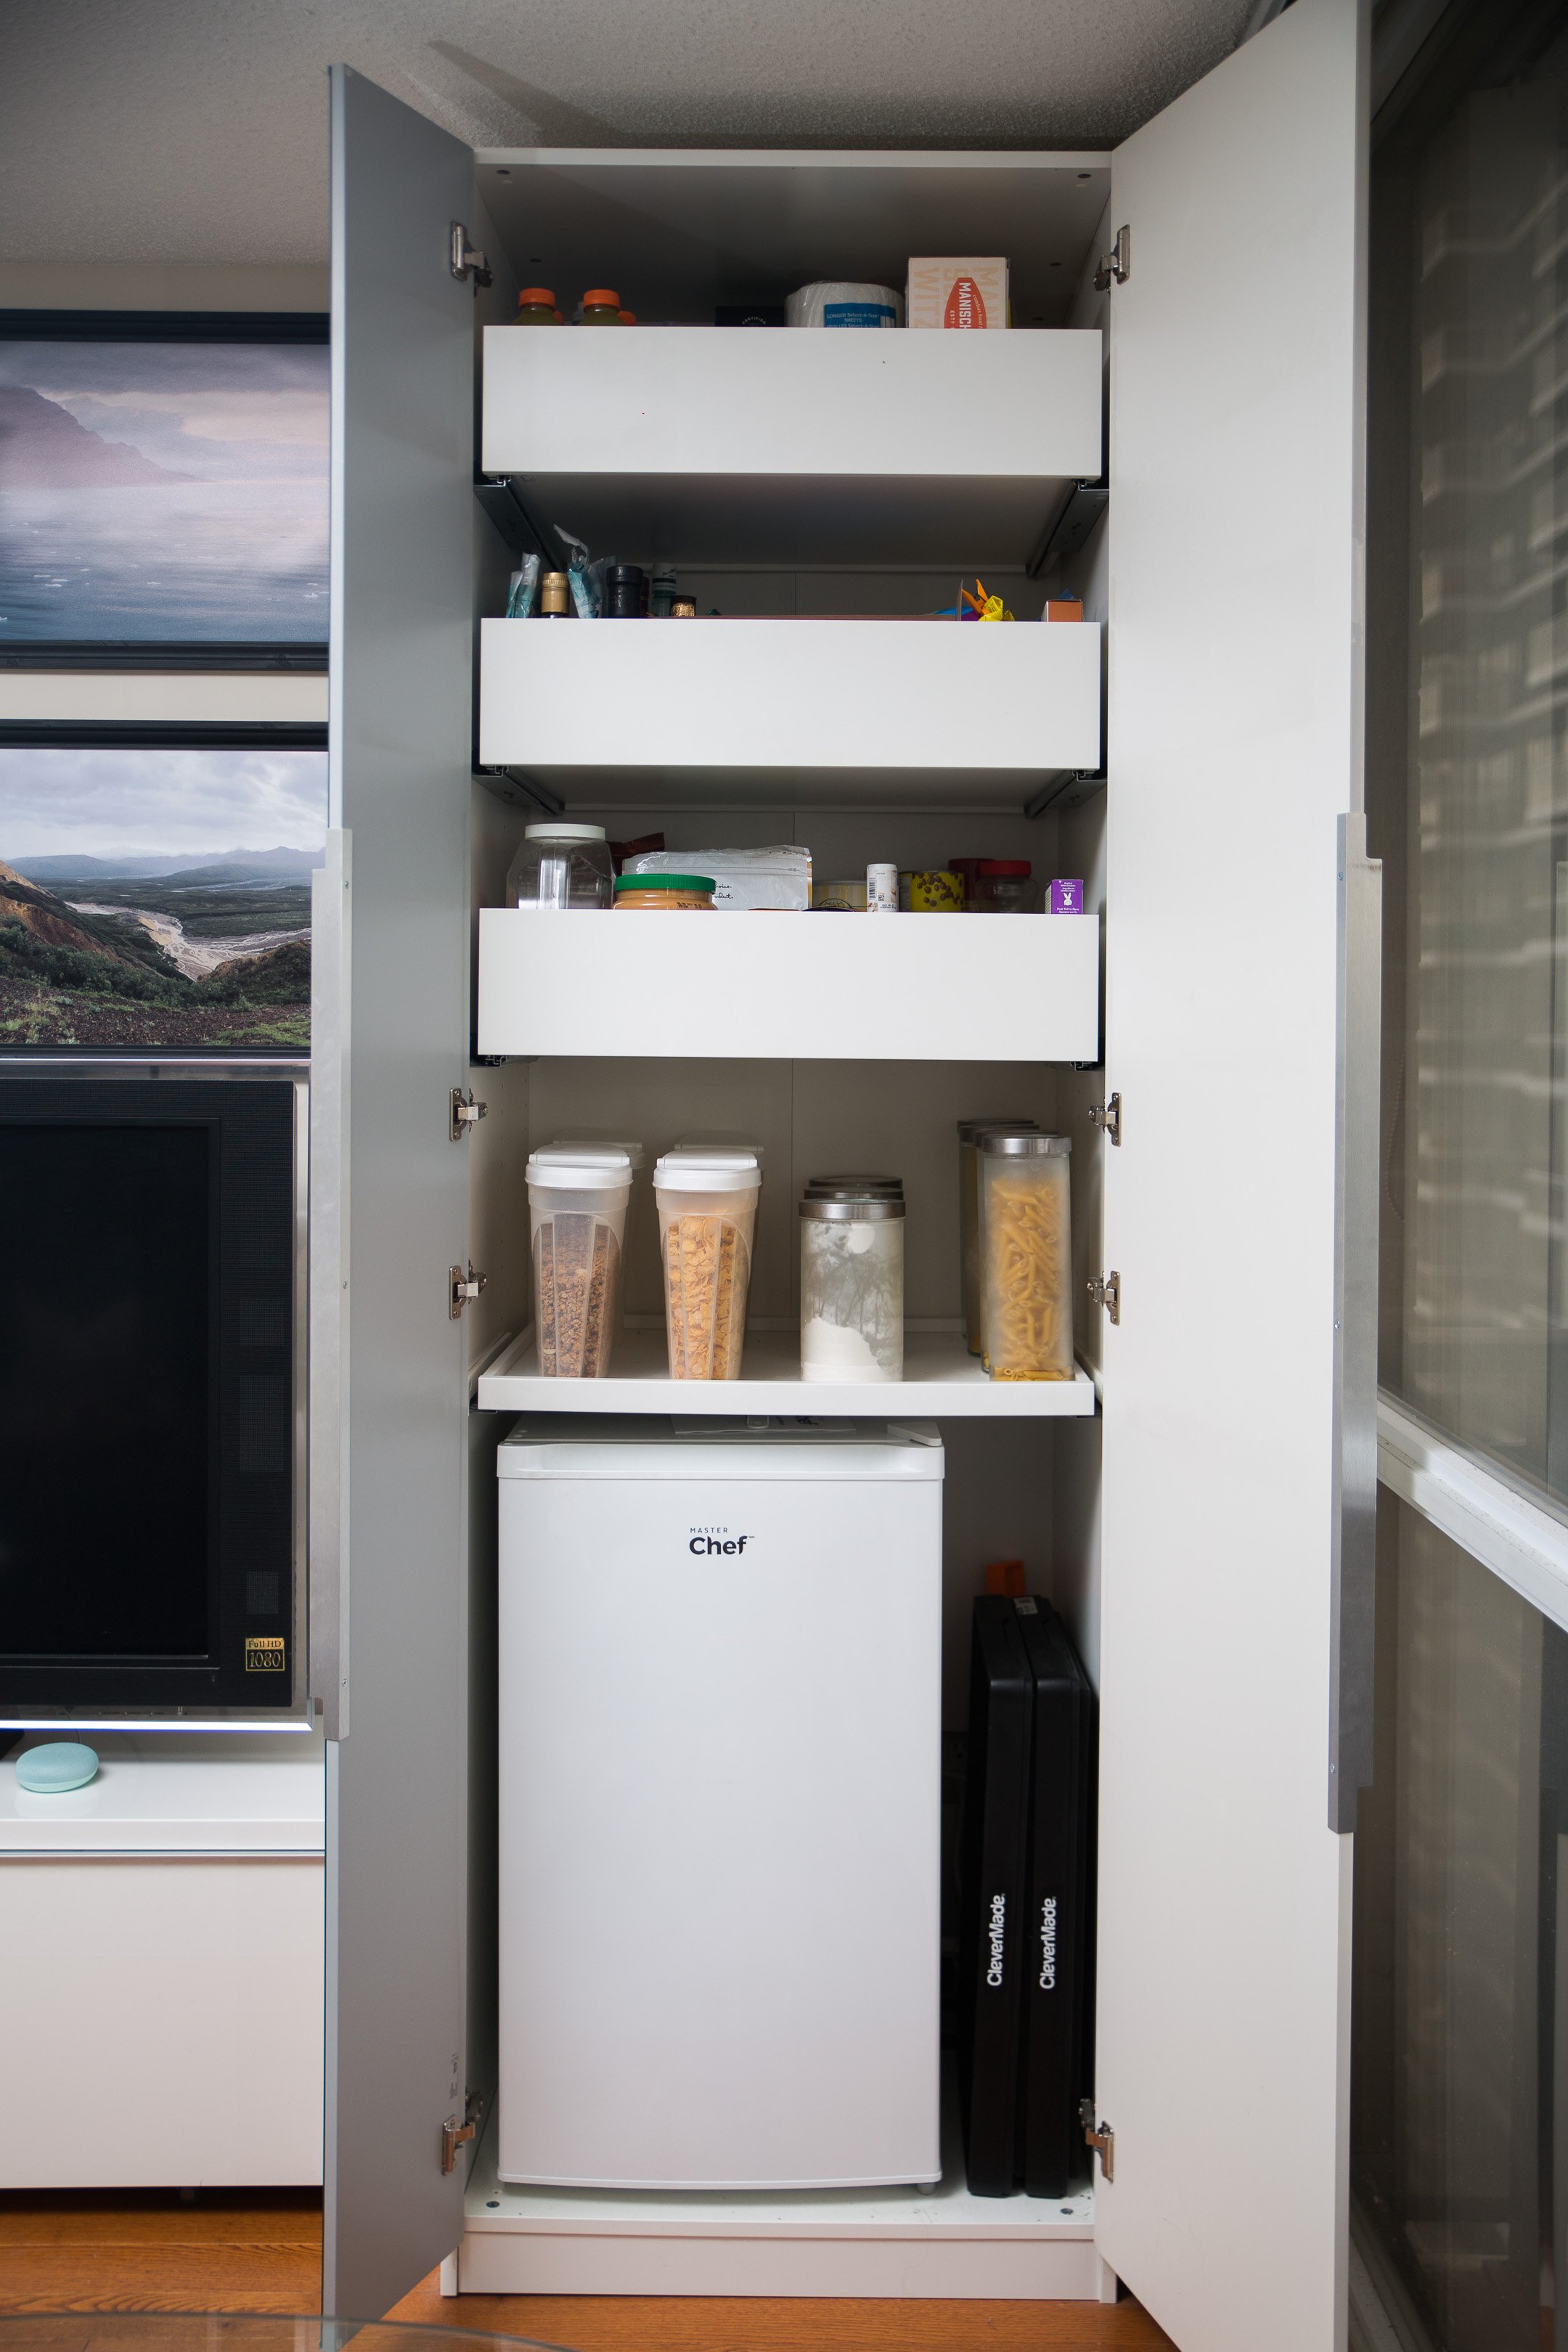
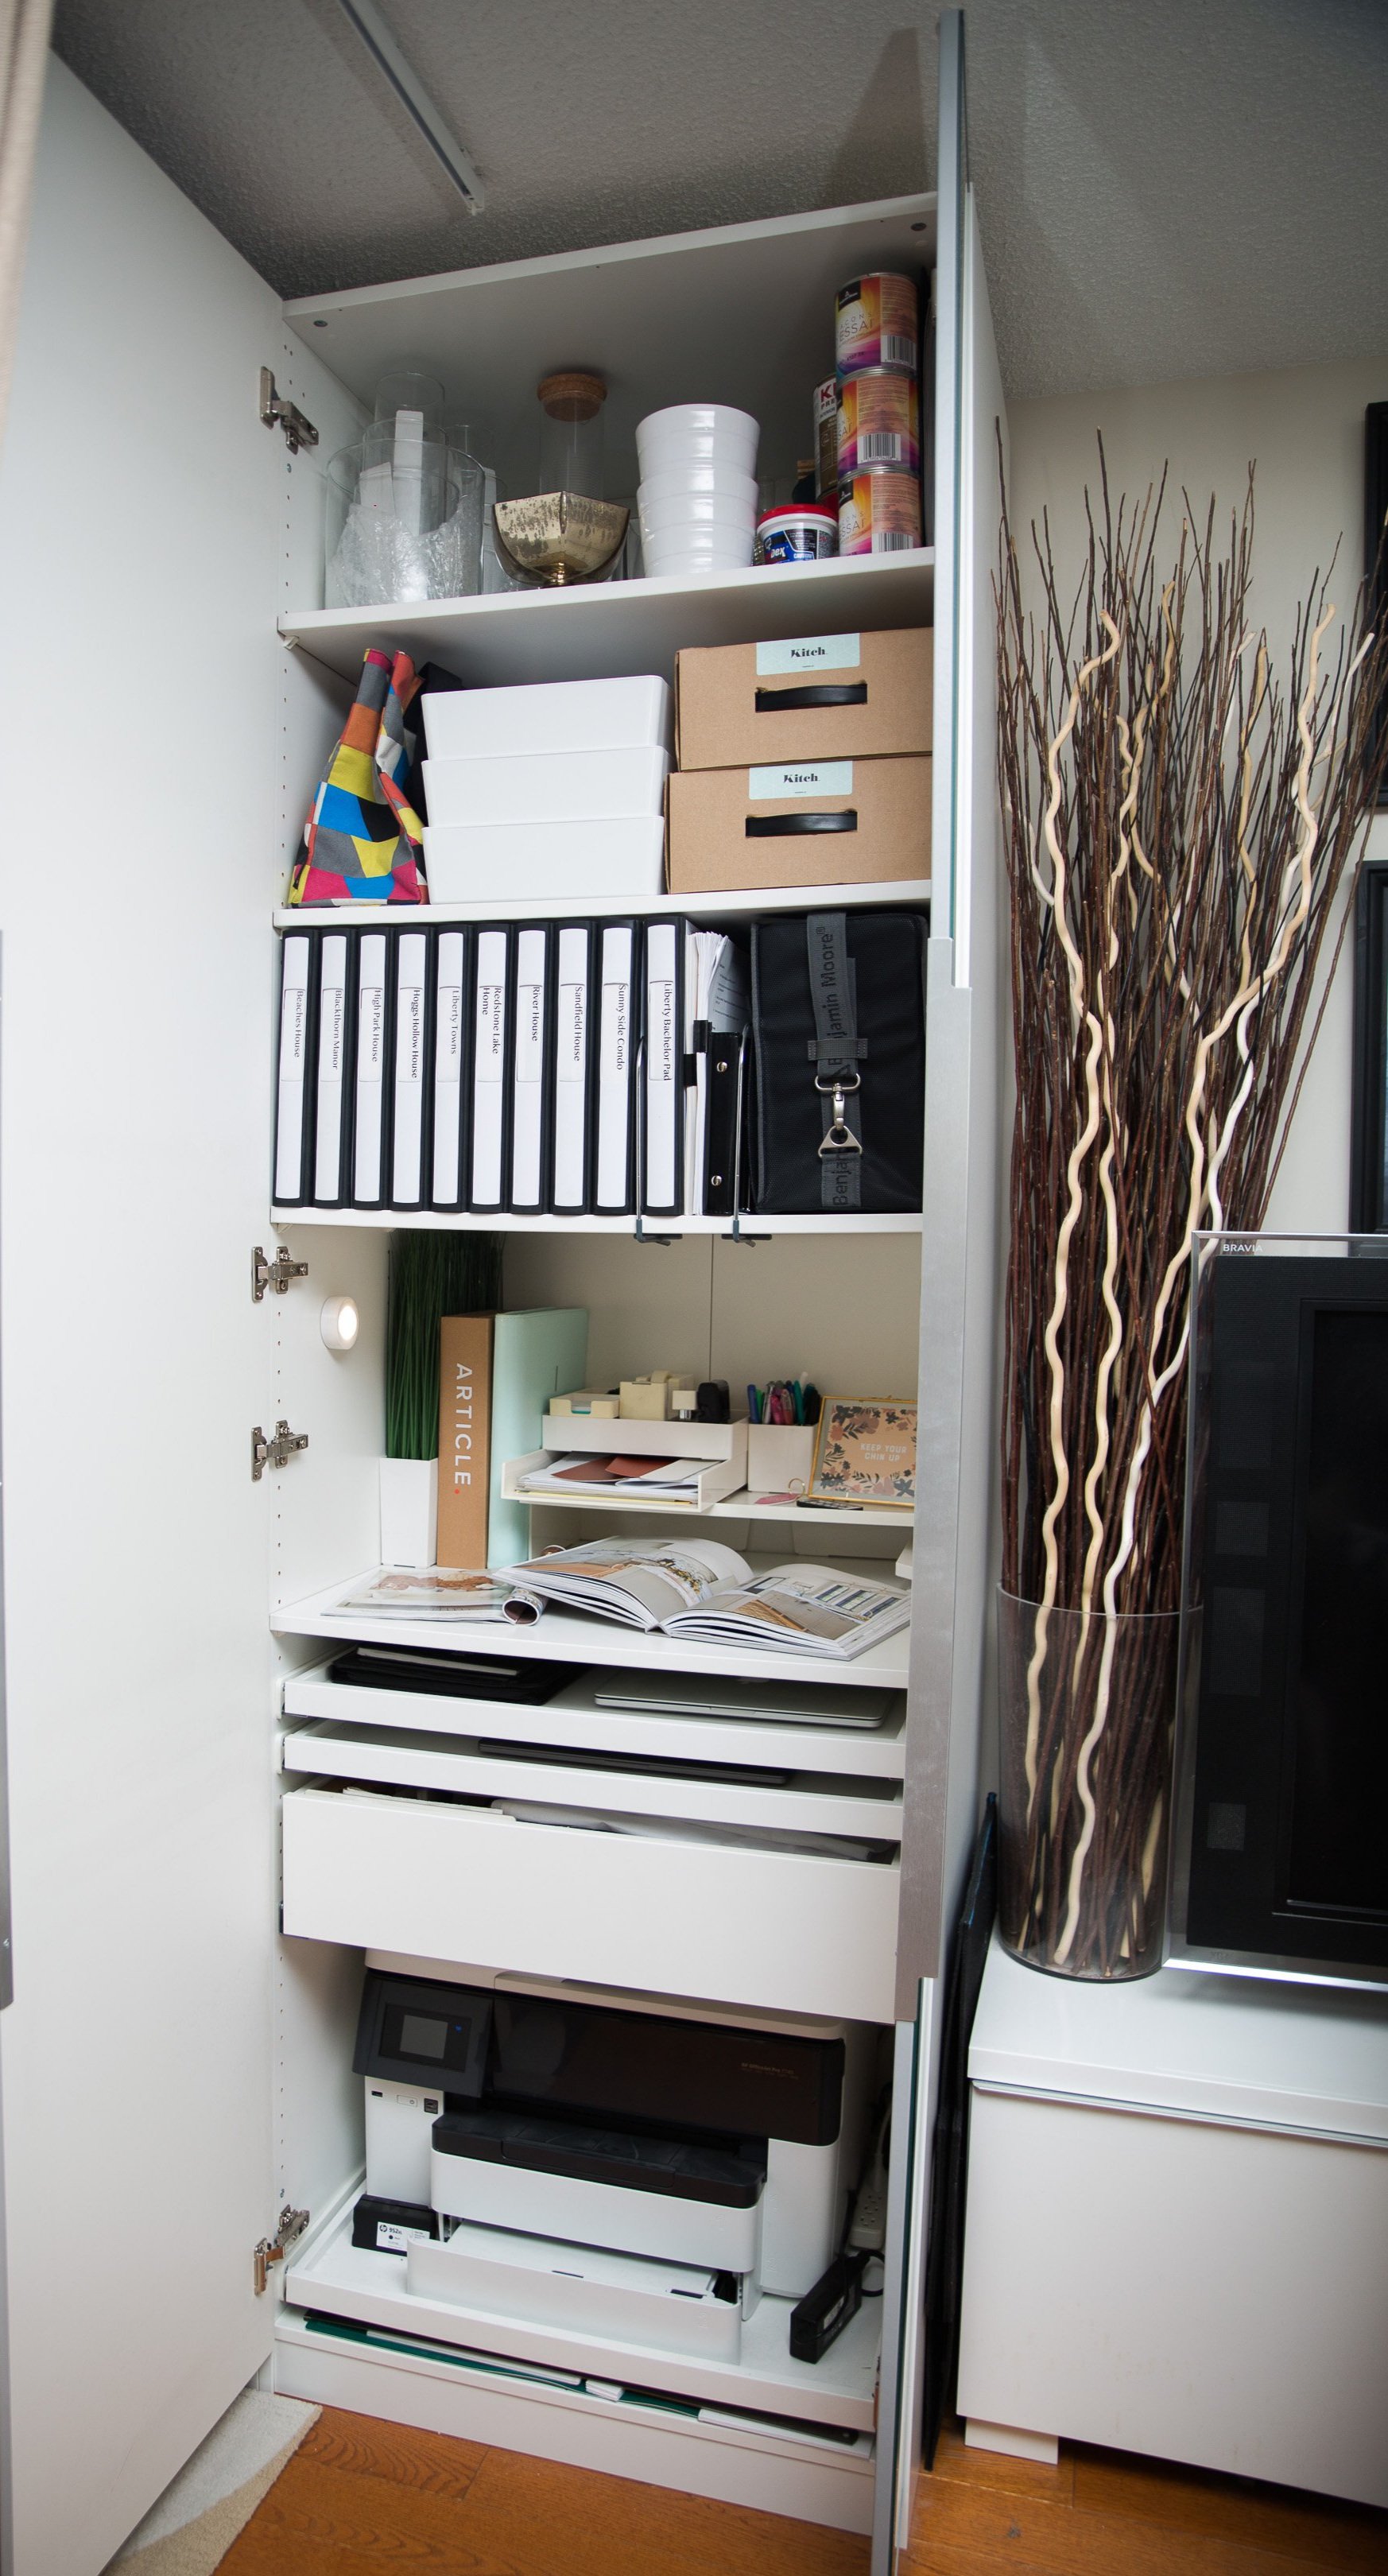
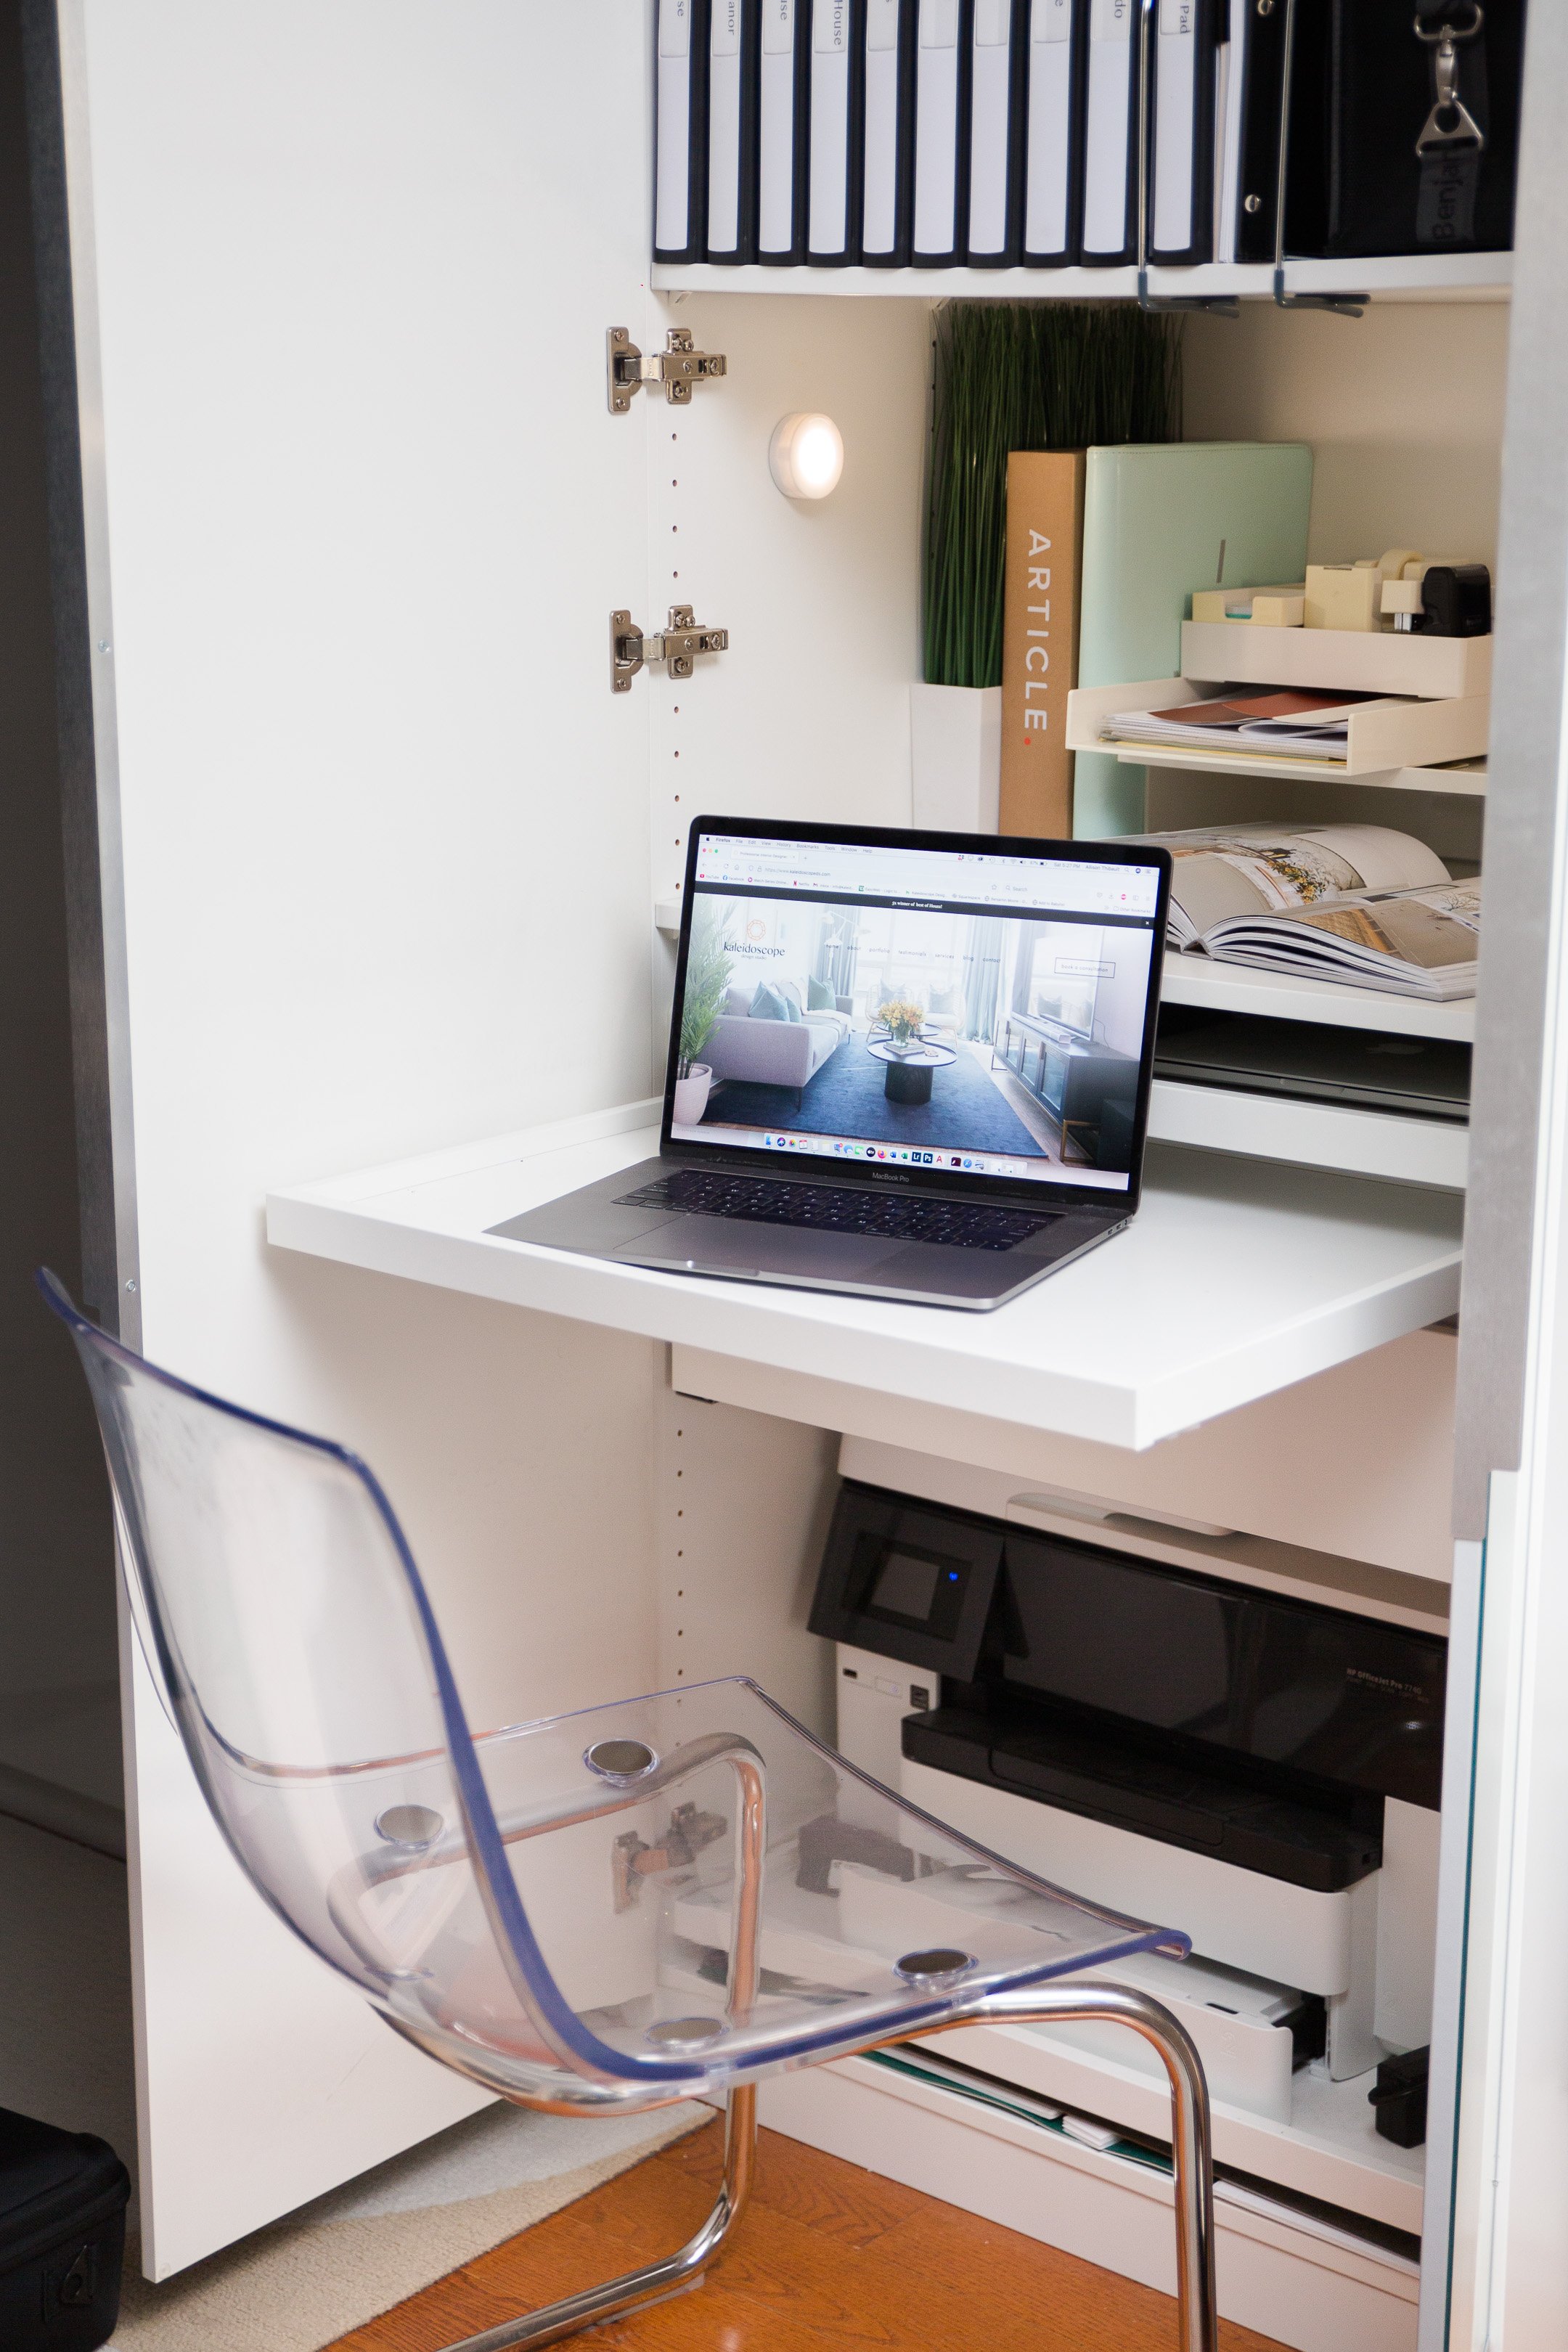
I’m sure you’re wondering how on earth I managed to fit a pantry (and freezer), and an office space into this living room. The trick again was using the available vertical space by installing large Ikea Pax wardrobes the full length of the wall (extending into the den area as well). By matching the wardrobe fronts to the existing media unit, it gives the illusion that the whole wall is built-in cabinetry while still remaining budget (and renter) friendly. The cabinet on the far right is the home of our pantry with pull-out shelves and drawers for easy access, and best of all a small freezer for meal-prep. The cabinet to the left of the media unit is the home of the office space, complete with pull-out trays that act as individual desks and allow easy access for the printer, along with additional storage for office supplies and client samples.
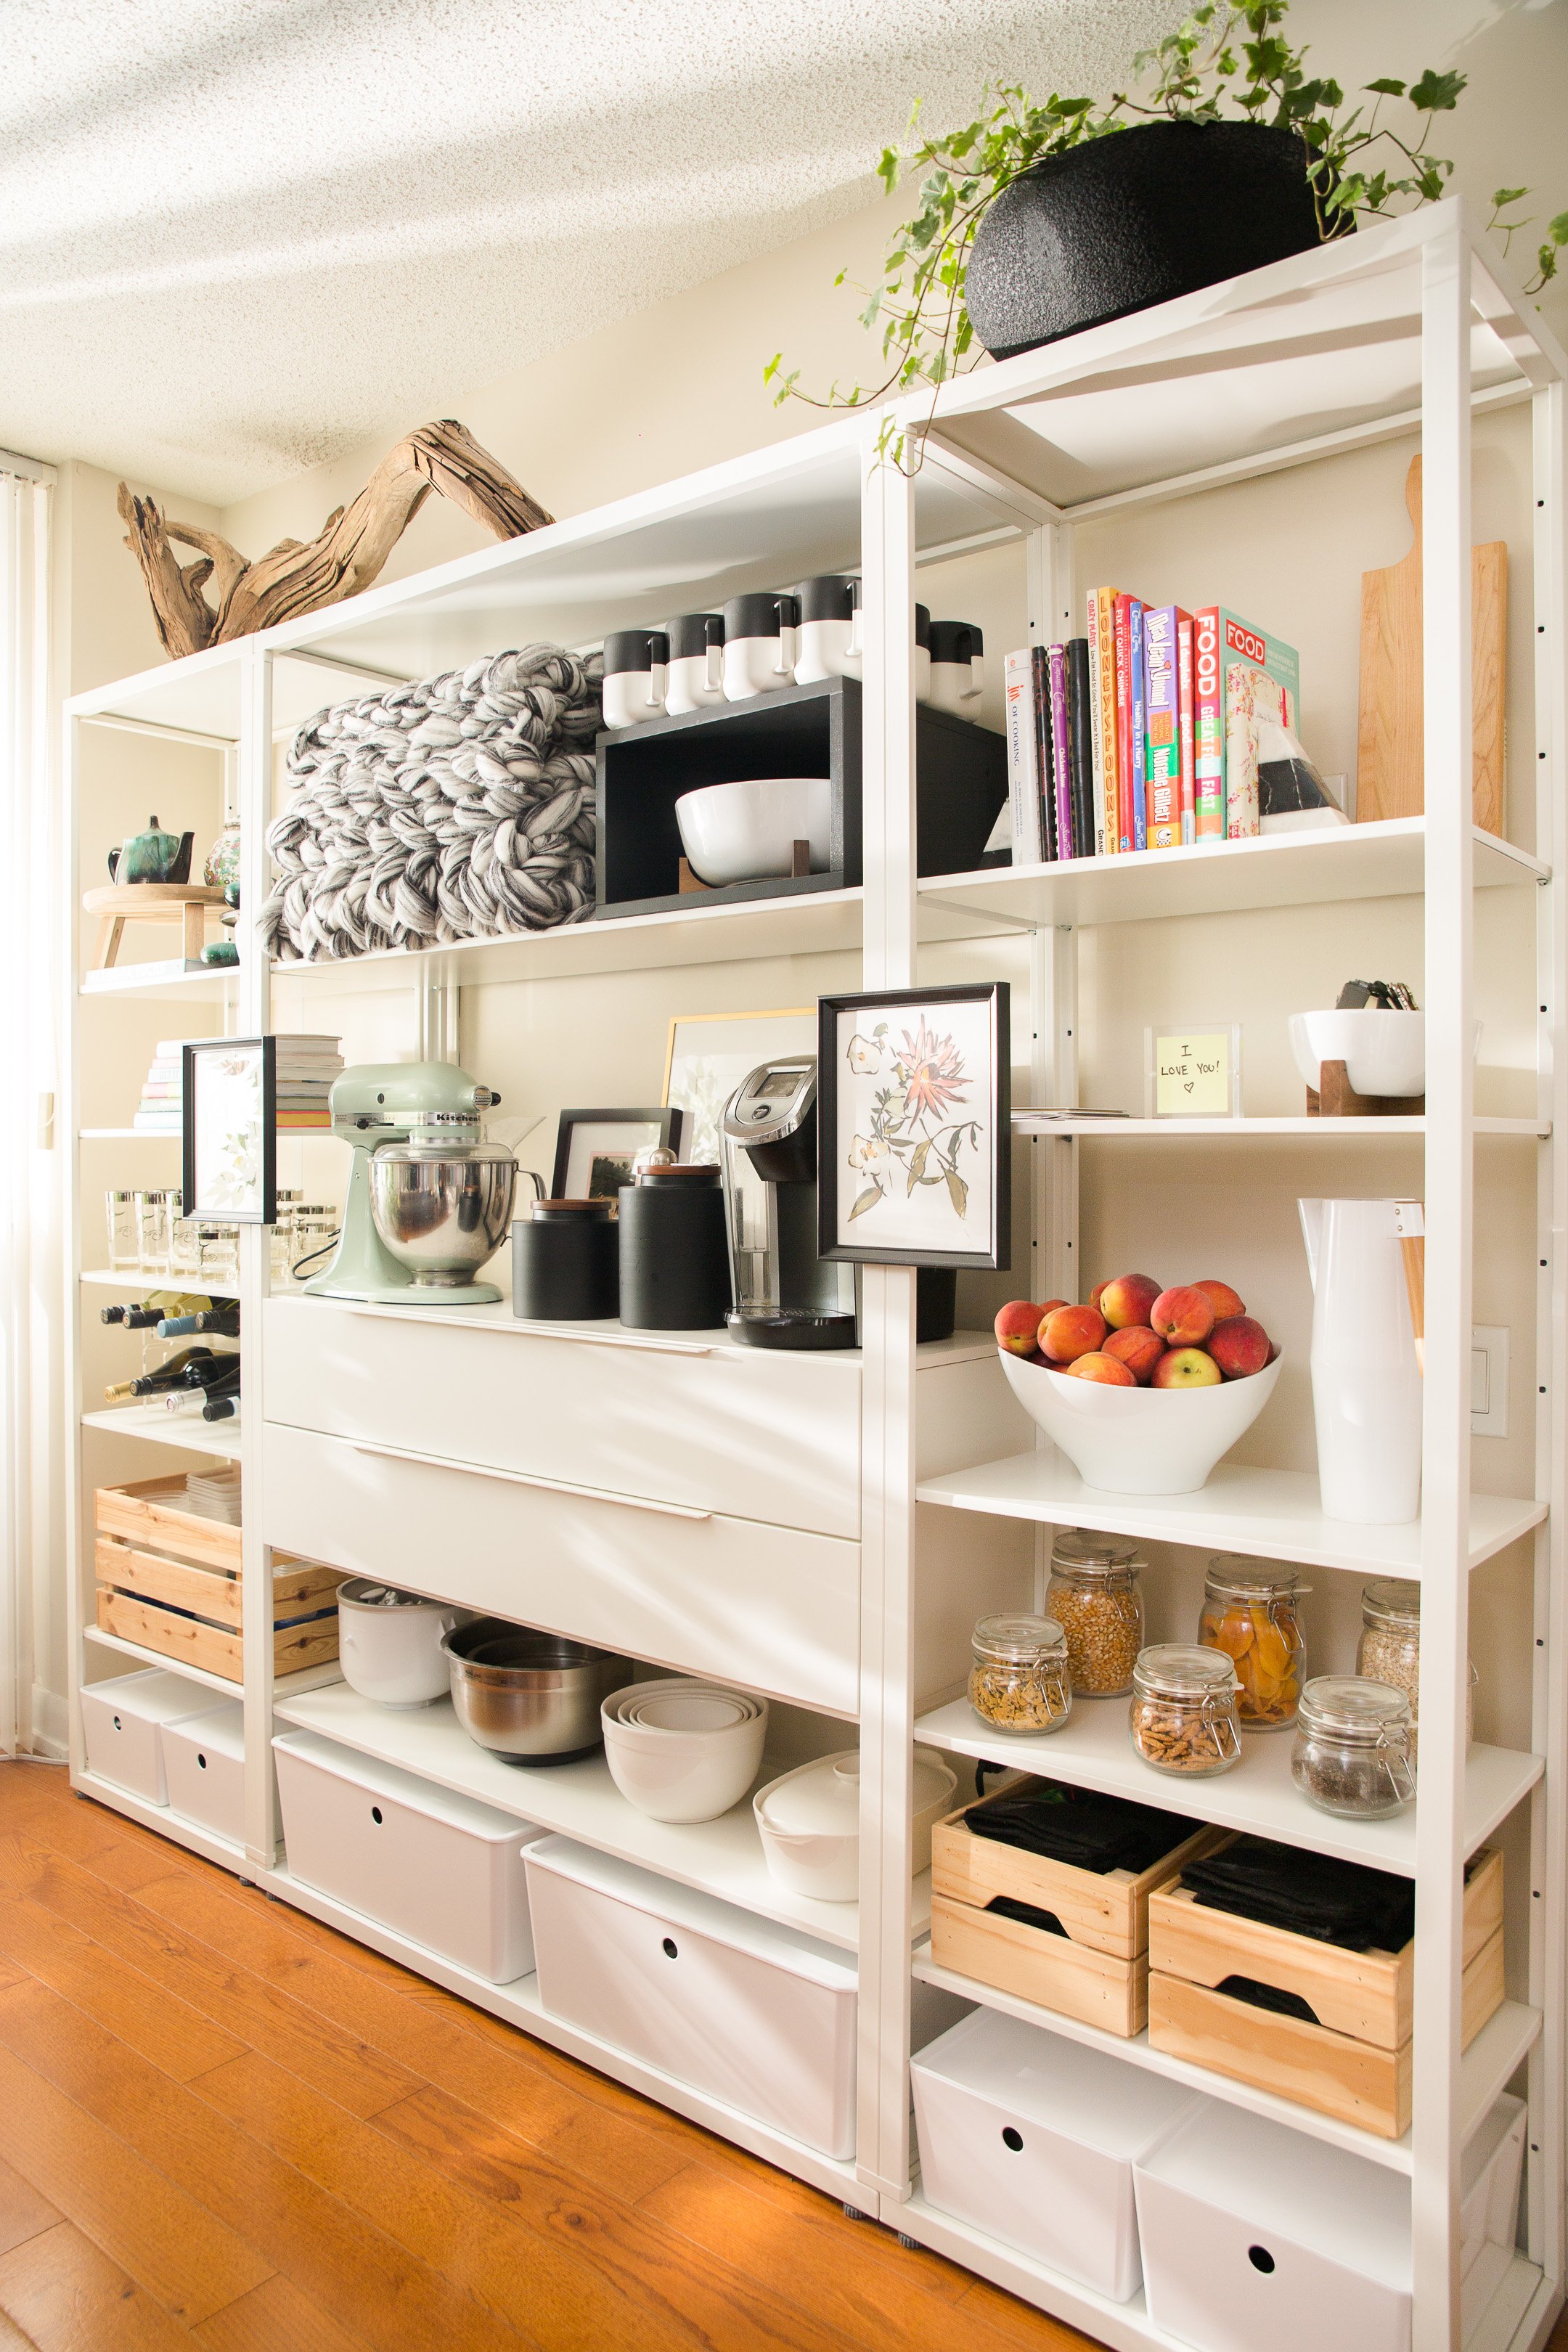
By investing in neutral staples that I loved to begin with, it’s easy to switch out a few items to make the space feel fresh and new. In this particular case, I changed things such as the area rug, the accent pillows, and added some art to make it feel more personal.
Existing pieces in the space:
Sofa
Coffee table
Media unit
Open shelf units (small)
Slim table for dining
Dining chairs
New pieces in the space:
Area rug
Accent pillows
Art Frames
Table lamps
Open shelf unit with drawers (large)
floor-to-ceiling Cabinetry


nursery
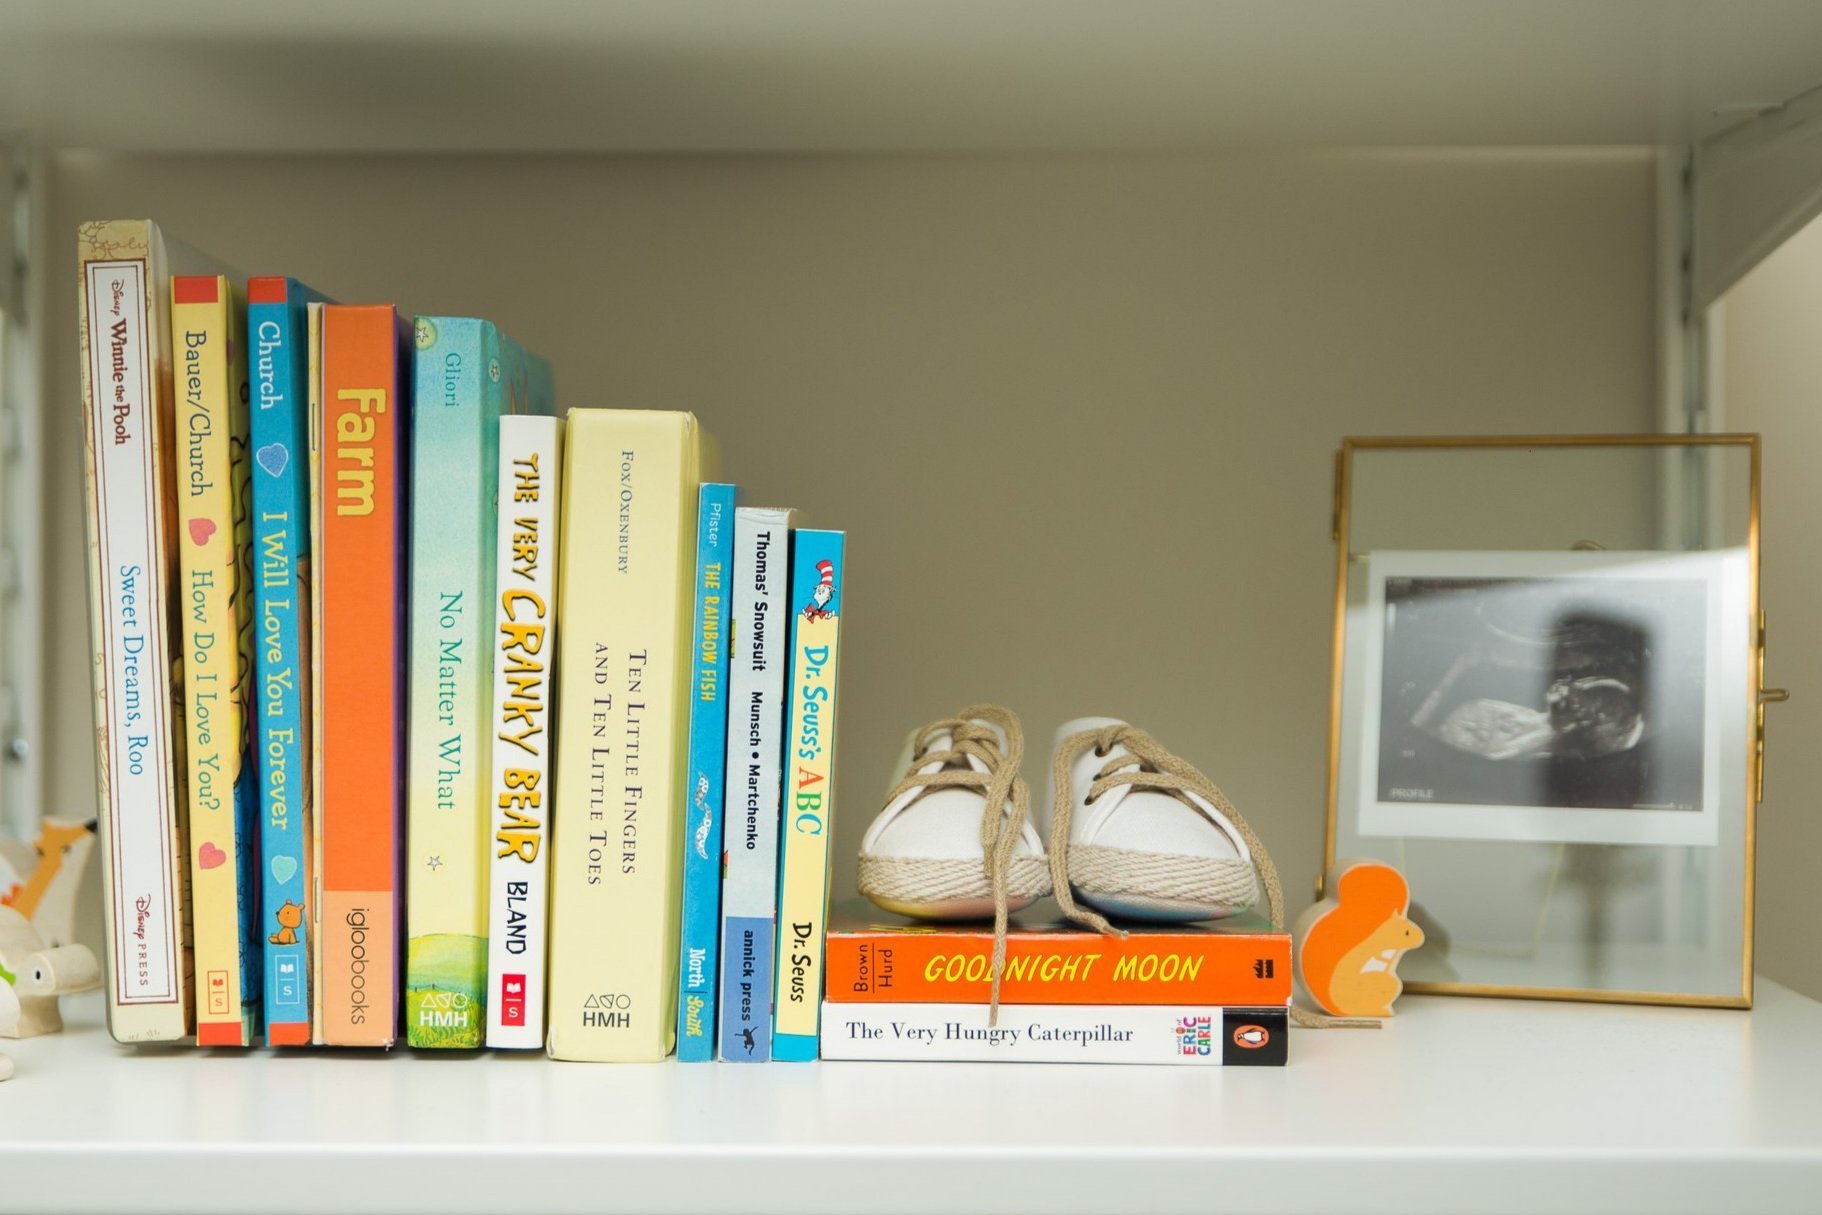
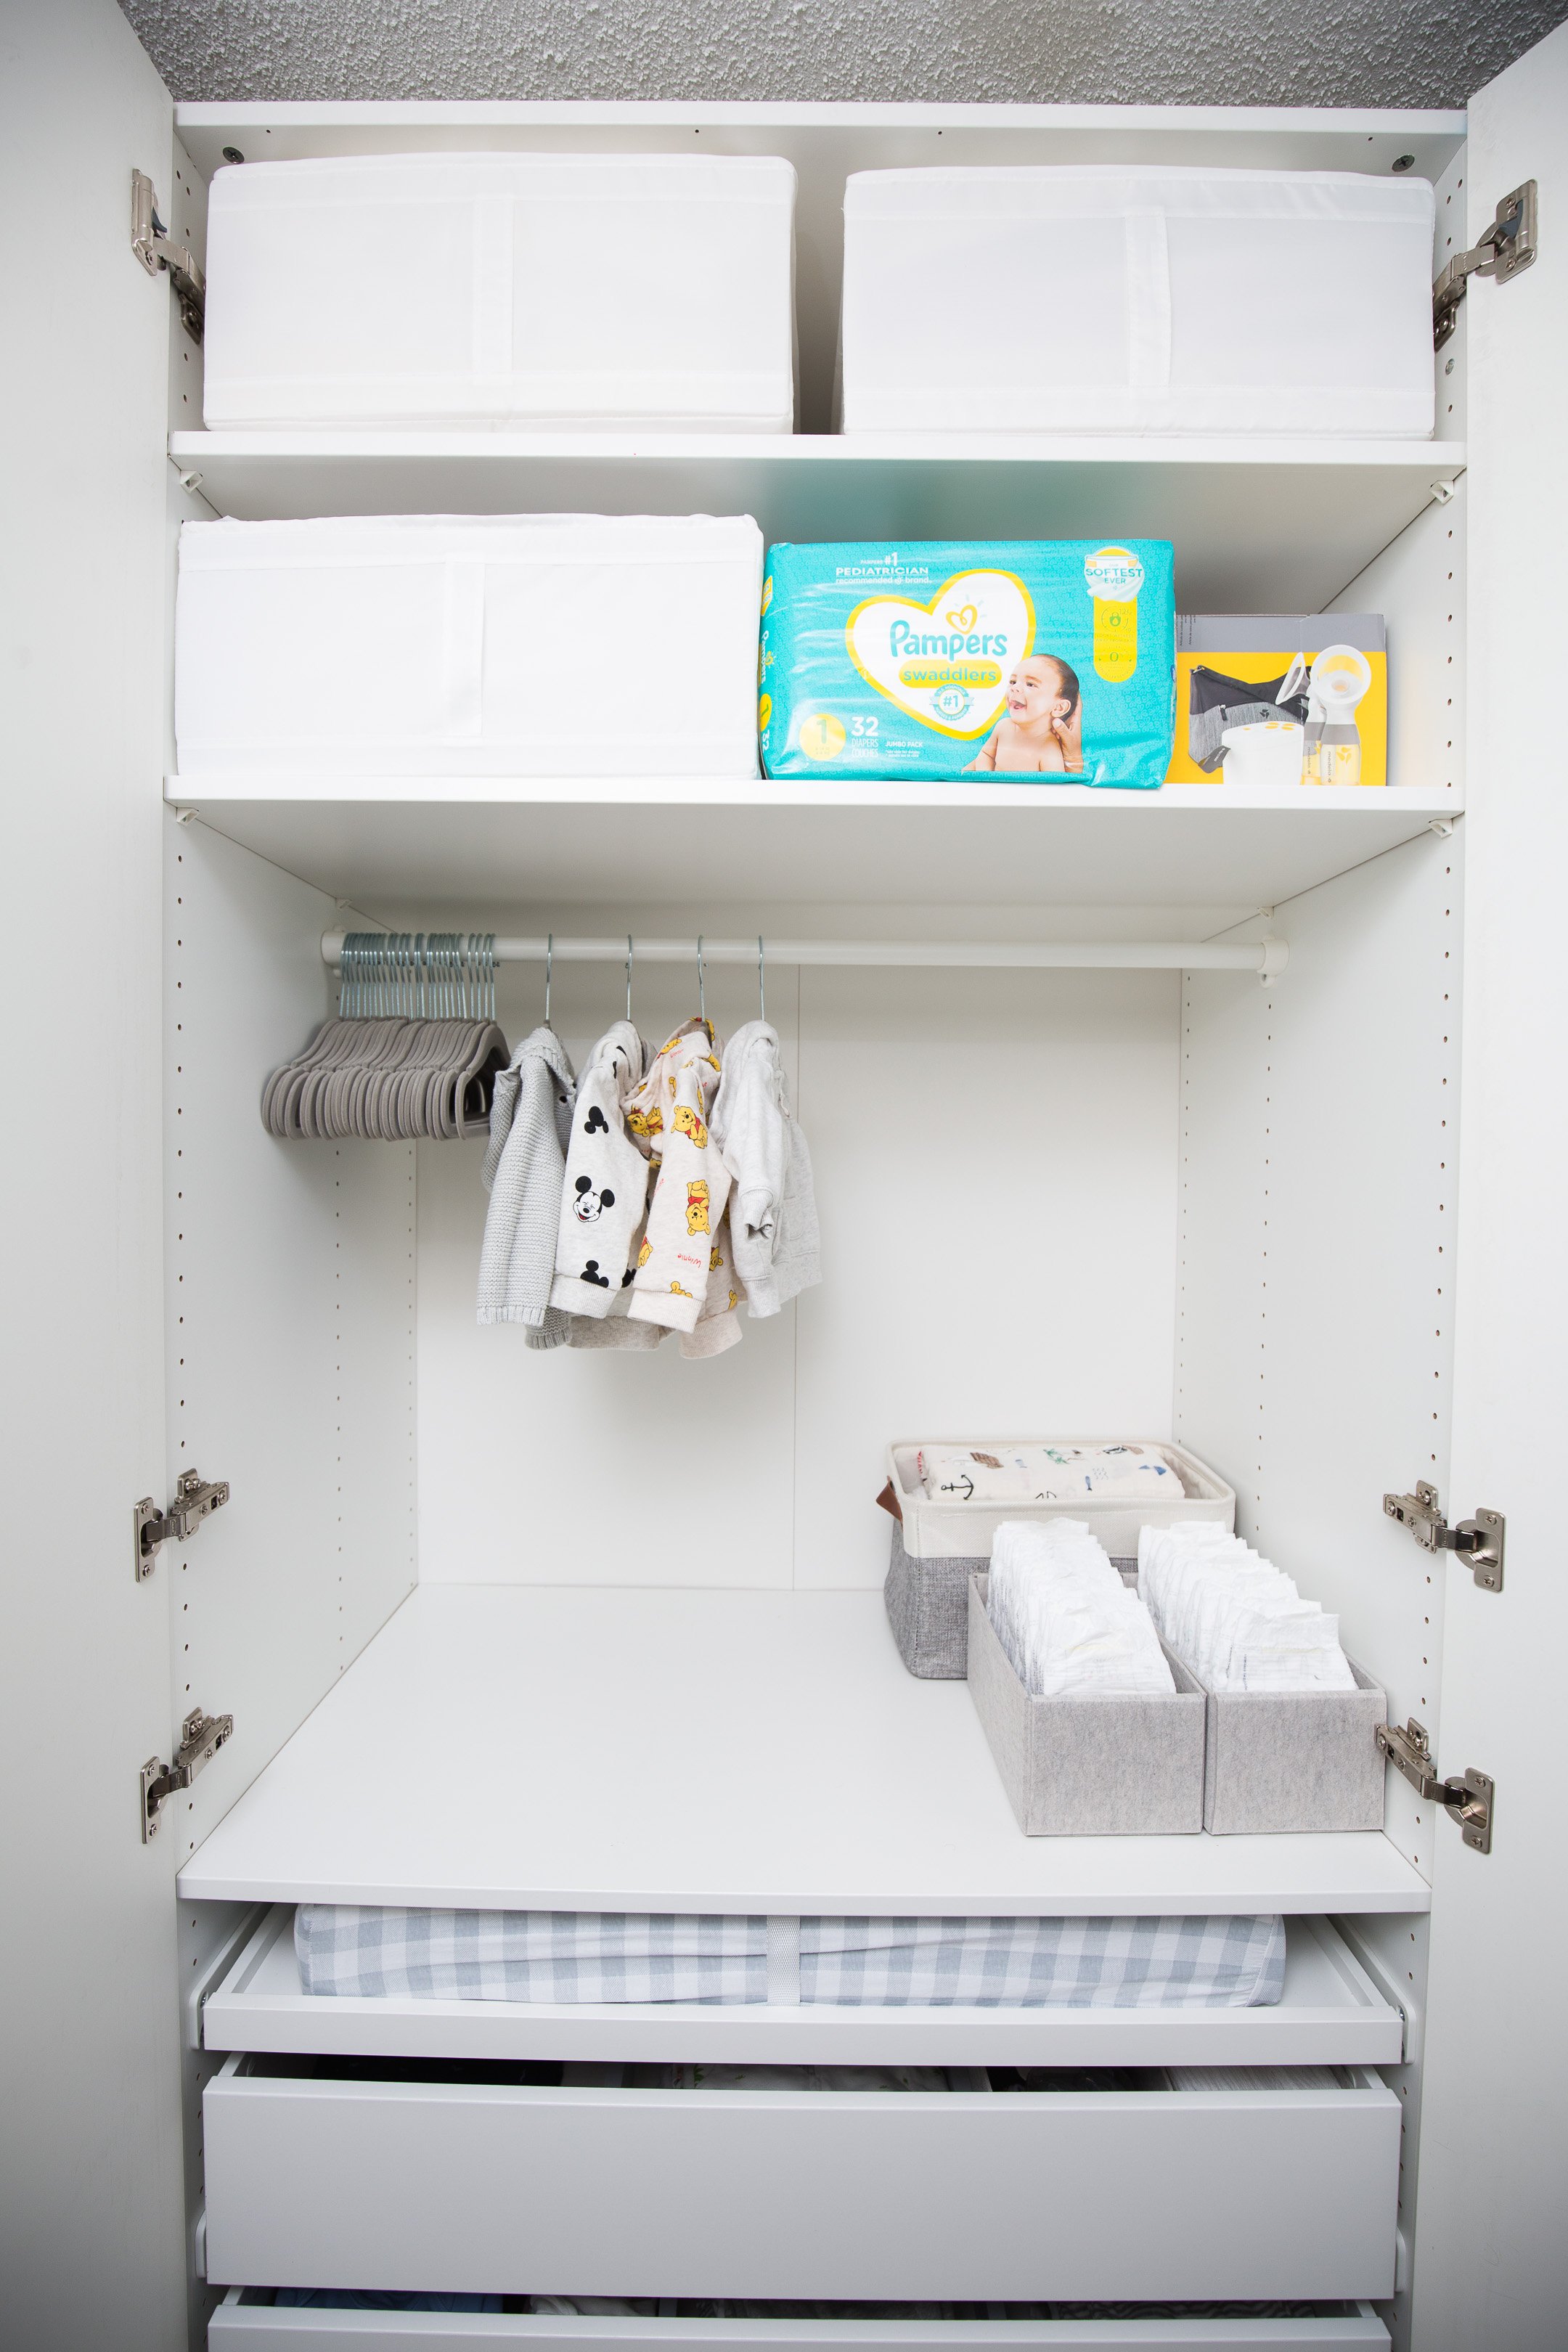
What was previously a designated office space for my husband while he was completing law school, is now a shared room for baby and bunny. For a space that is only approximately 5’-0” by 7’-6”, this little room needed to work overtime when it came to function. I needed this little nook to function as a nursery, which means a crib, a change table, clothing storage, and toy/book storage. But it also needed to function as a home for our pet bunny, which means a cage, food storage, and other miscellaneous items that come with owning a pet.
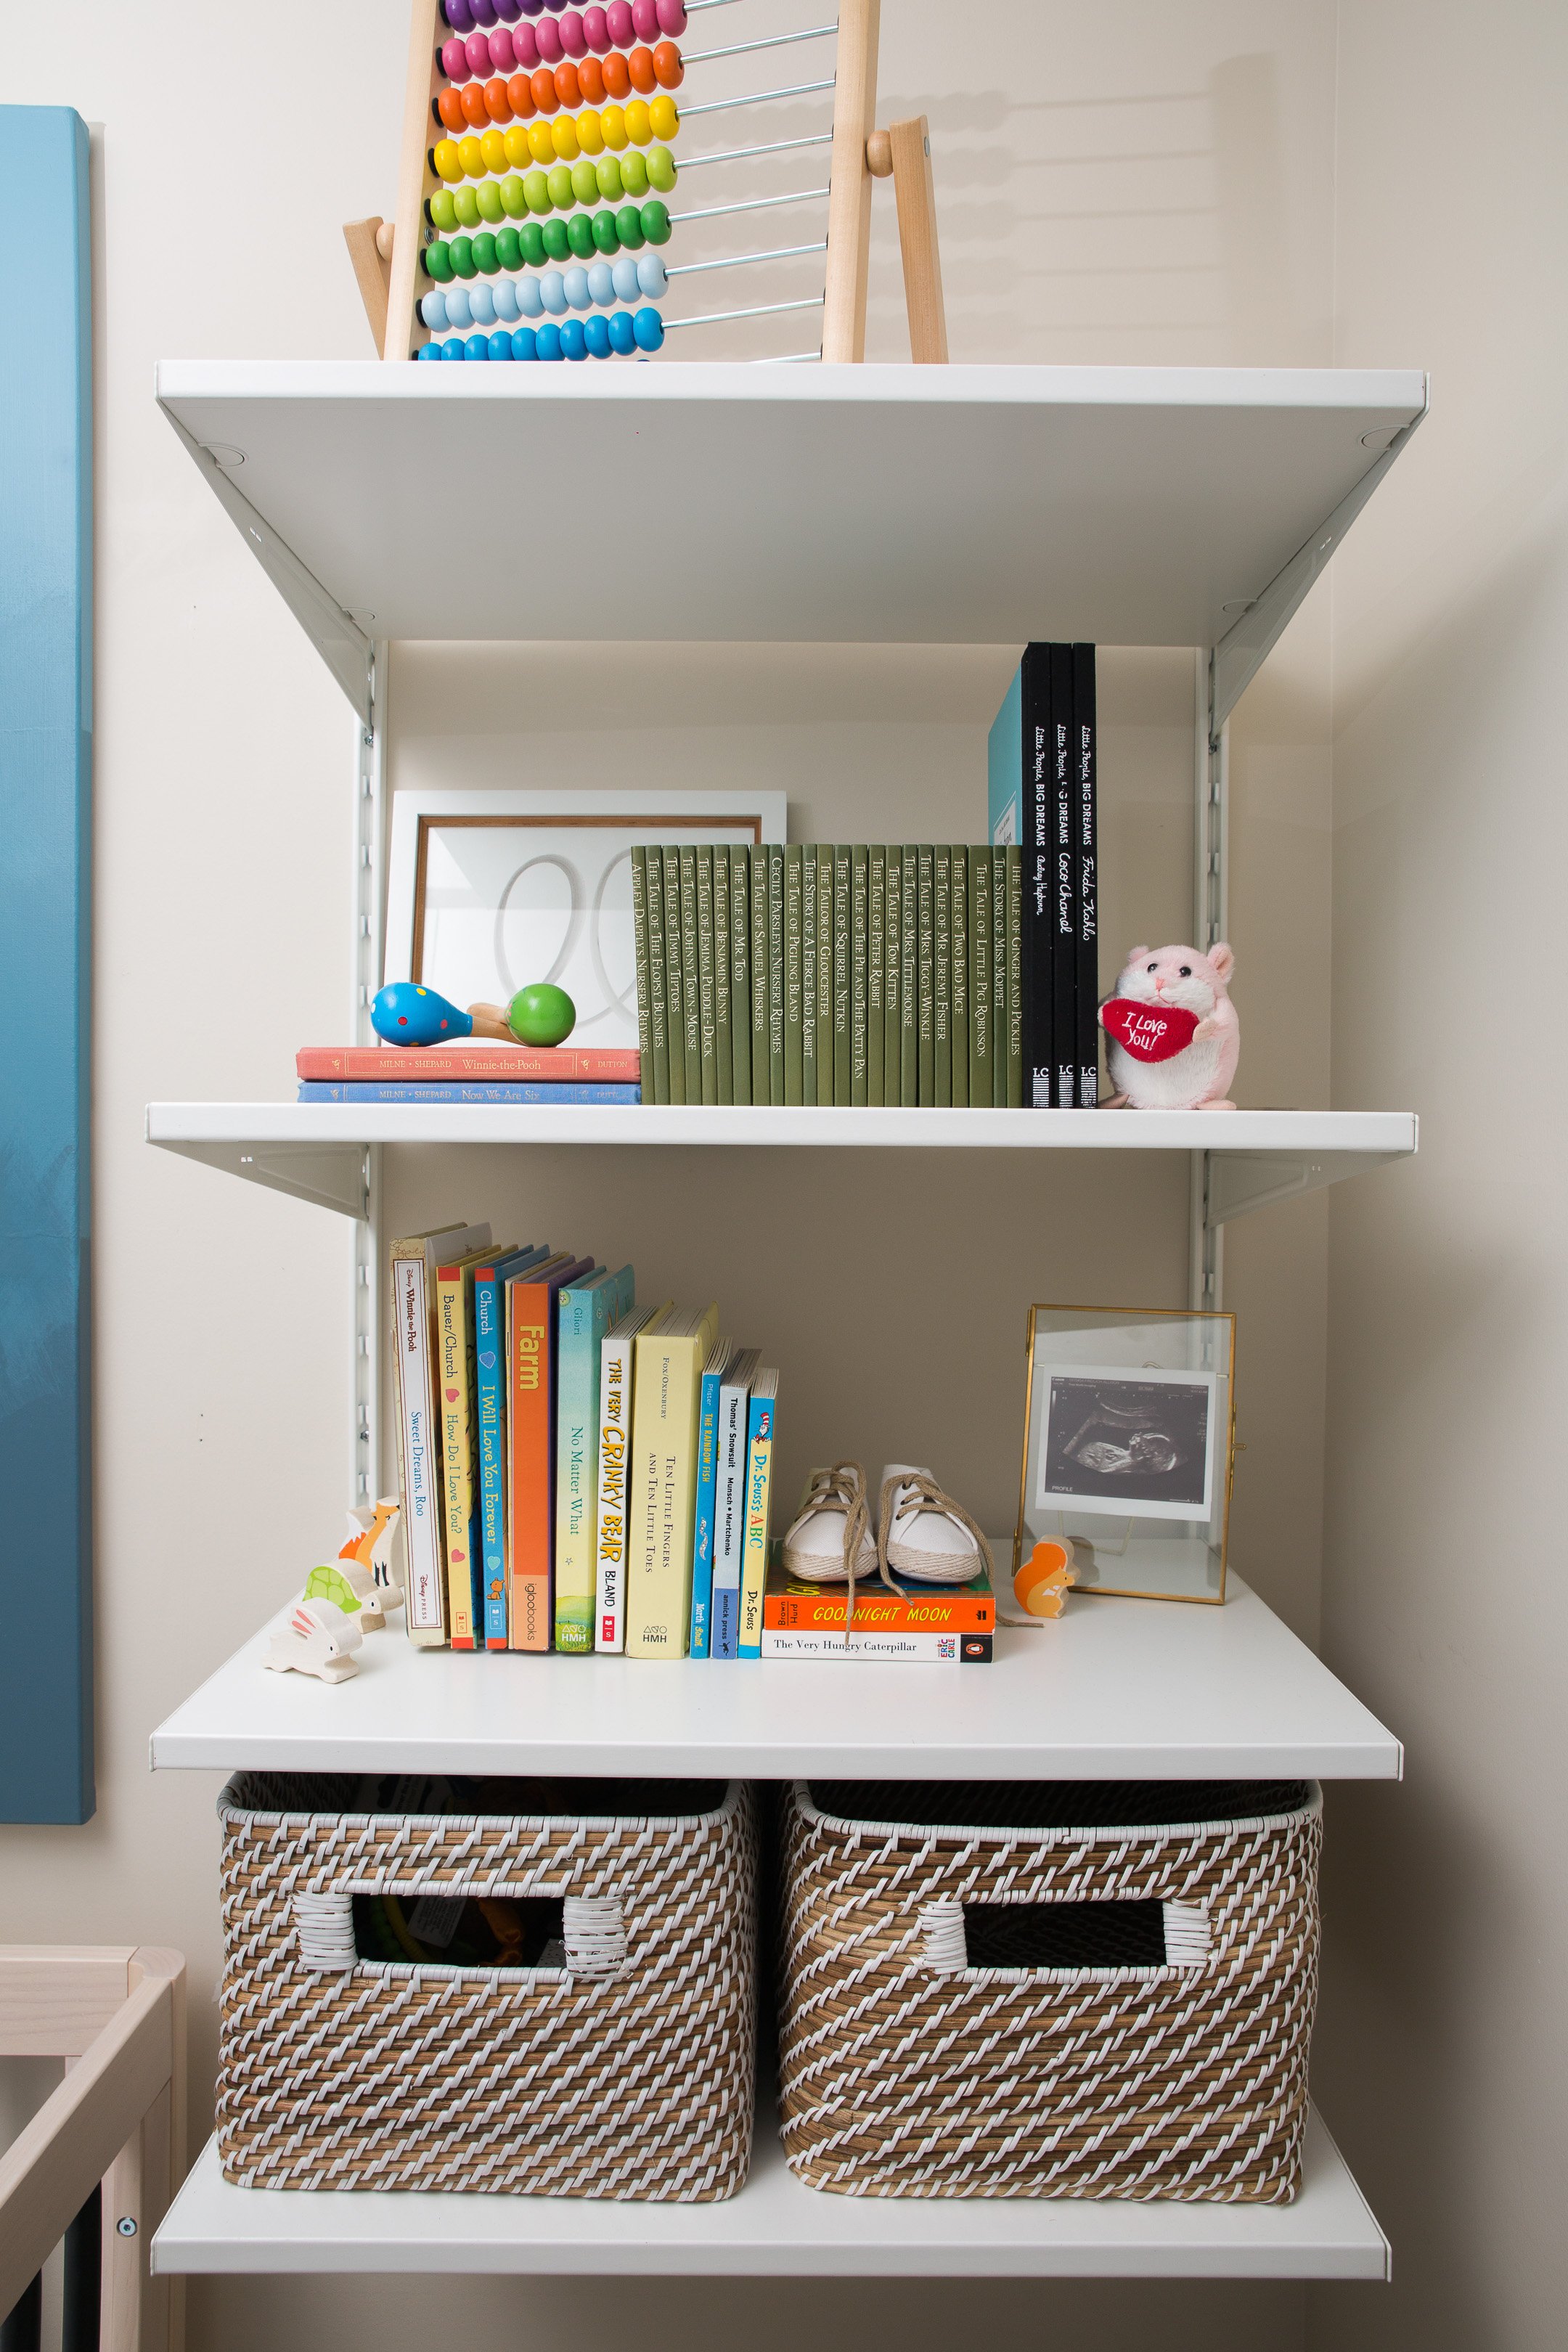
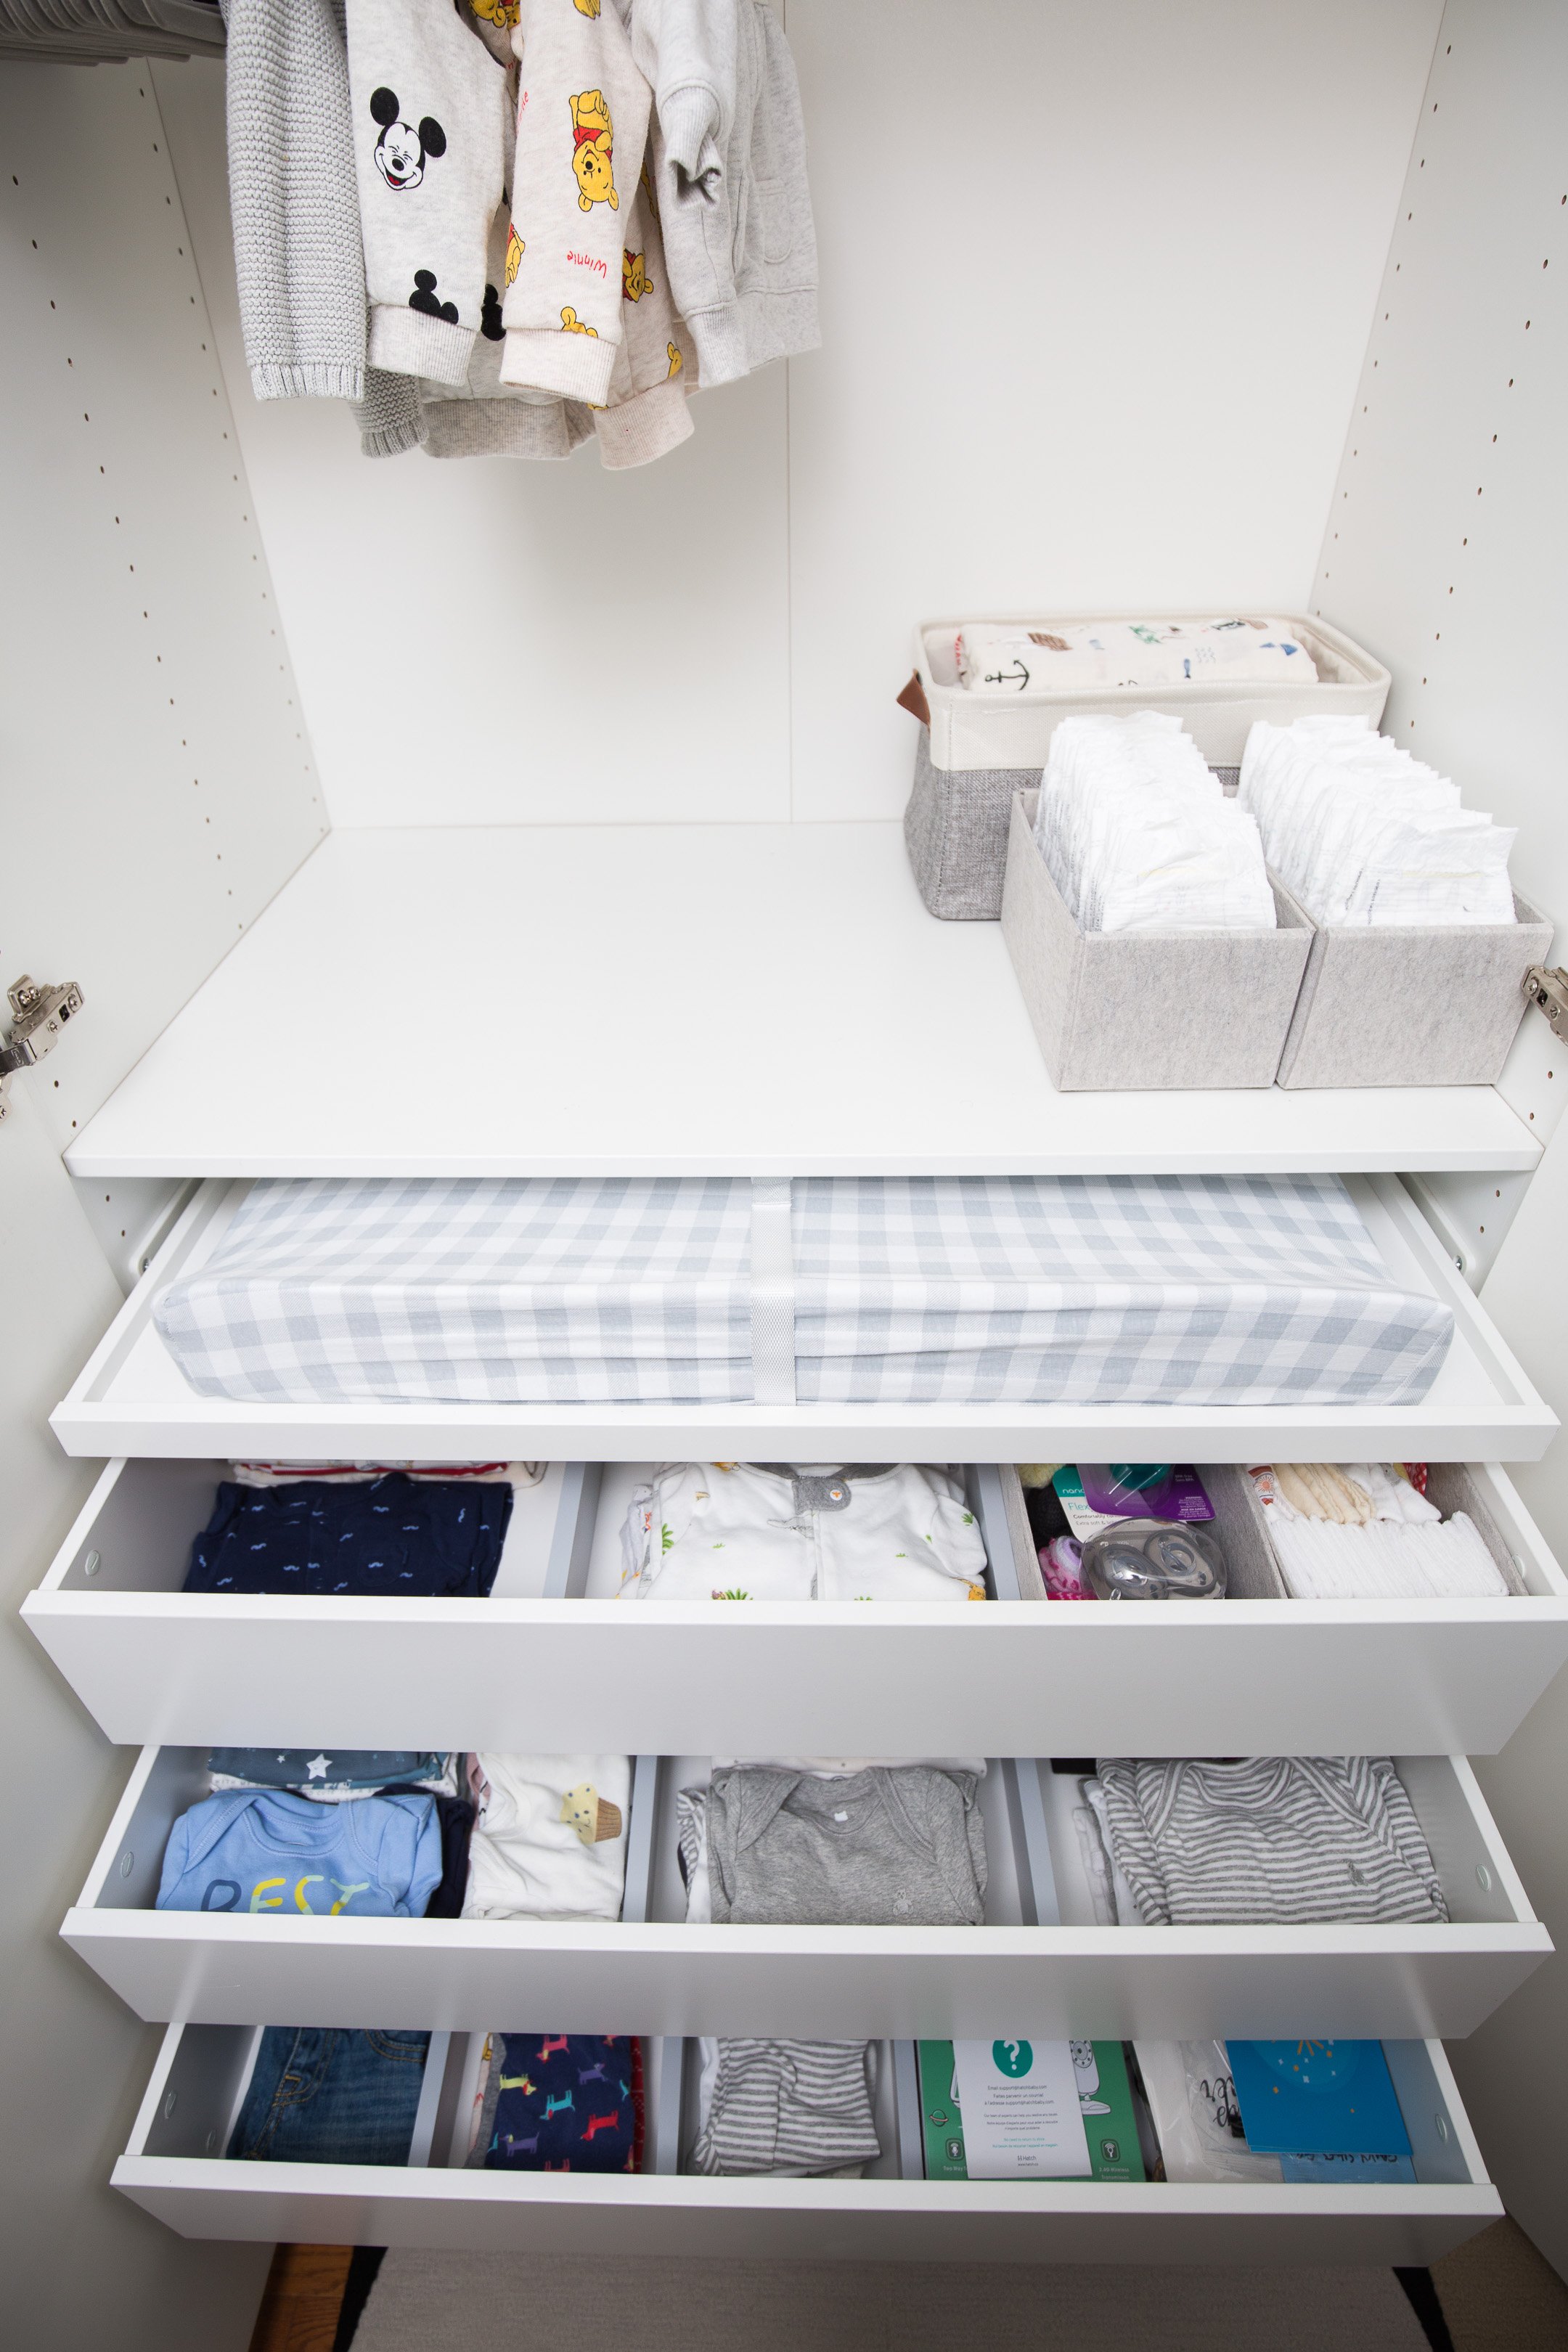
Once again the name of the game was going up! Utilizing the large full-height cabinet on the end as the nursery cabinet, I was able to include storage space for extra linens, hanging space for his tiny sweaters, a pull-out tray to fit a change pad, drawers for additional storage (clothes, wash cloths, bibs, extra diapers and wipes), and finally a mesh drawer at the bottom to act as a built-in hamper. To address the additional storage needs to meet my requirements, I installed open shelving beside the crib to store toys and books, but it also creates the perfect ledge for the sound machine and baby monitor. In everyday life, these shelves are also where the bunny’s belongings live (hay and bedding on the top shelf, with food and toys accessible on the lower shelf.)
Another way to solve the small space issue in the nursery was to embrace the fact that it is in part an extension of the main living space. By doing so, I was able to place the rocker in the living space, while still keeping it in close proximity to the nursery. However to provide the necessary visual separation, I installed a simple ceiling-mounted drapery track and hung room darkening curtains on either side. Not only does this divide the nursery from the living space, but it also ensures that the nursery is as dark as possible during his naps. Keeping the majority of the design elements neutral help make the space feel larger, and adding strategic personal touches give the space the right amount of personality without overpowering the room. Carpet tiles in a fun geometric pattern play off the living room area rug, while still allowing me to fit a rug in this unique size, and a large painted canvas adds the perfect pop of colour without having to paint the walls (again, a very rental-friendly option).

bed
Accent walls can be a little controversial - you either love them or you hate them! For me the accent wall in the bedroom was the perfect way to add much needed personality while helping the builder-grade finishes of my rental disappear a little. For starters, the closet doors are basic white board sliders and the window treatments are old-fashioned vertical blinds. Changing either of this items wasn’t in our design budget, so by painting all the walls white it helped take the focus away from them and help them blend in with the surrounding walls.

To address the storage concern, I switched out the dresser and nightstands for something that allowed for more storage. Instead of one large 6-drawer dresser, I replaced it with two 4-drawer dressers pushed together. This gives the impression of one large dresser (and worked out to be similar dimensions), but allowed for an extra drawer for my husband and myself instead of having wasted space below. Relocated my shoe storage to a more appropriate (and hidden) home in one of the closed living room cabinets, this allowed me to have larger nightstands with more than double the storage space. To save on the budget, the nightstands are simple pieces from Ikea but made a little more interesting and personal by adding custom wood handles.

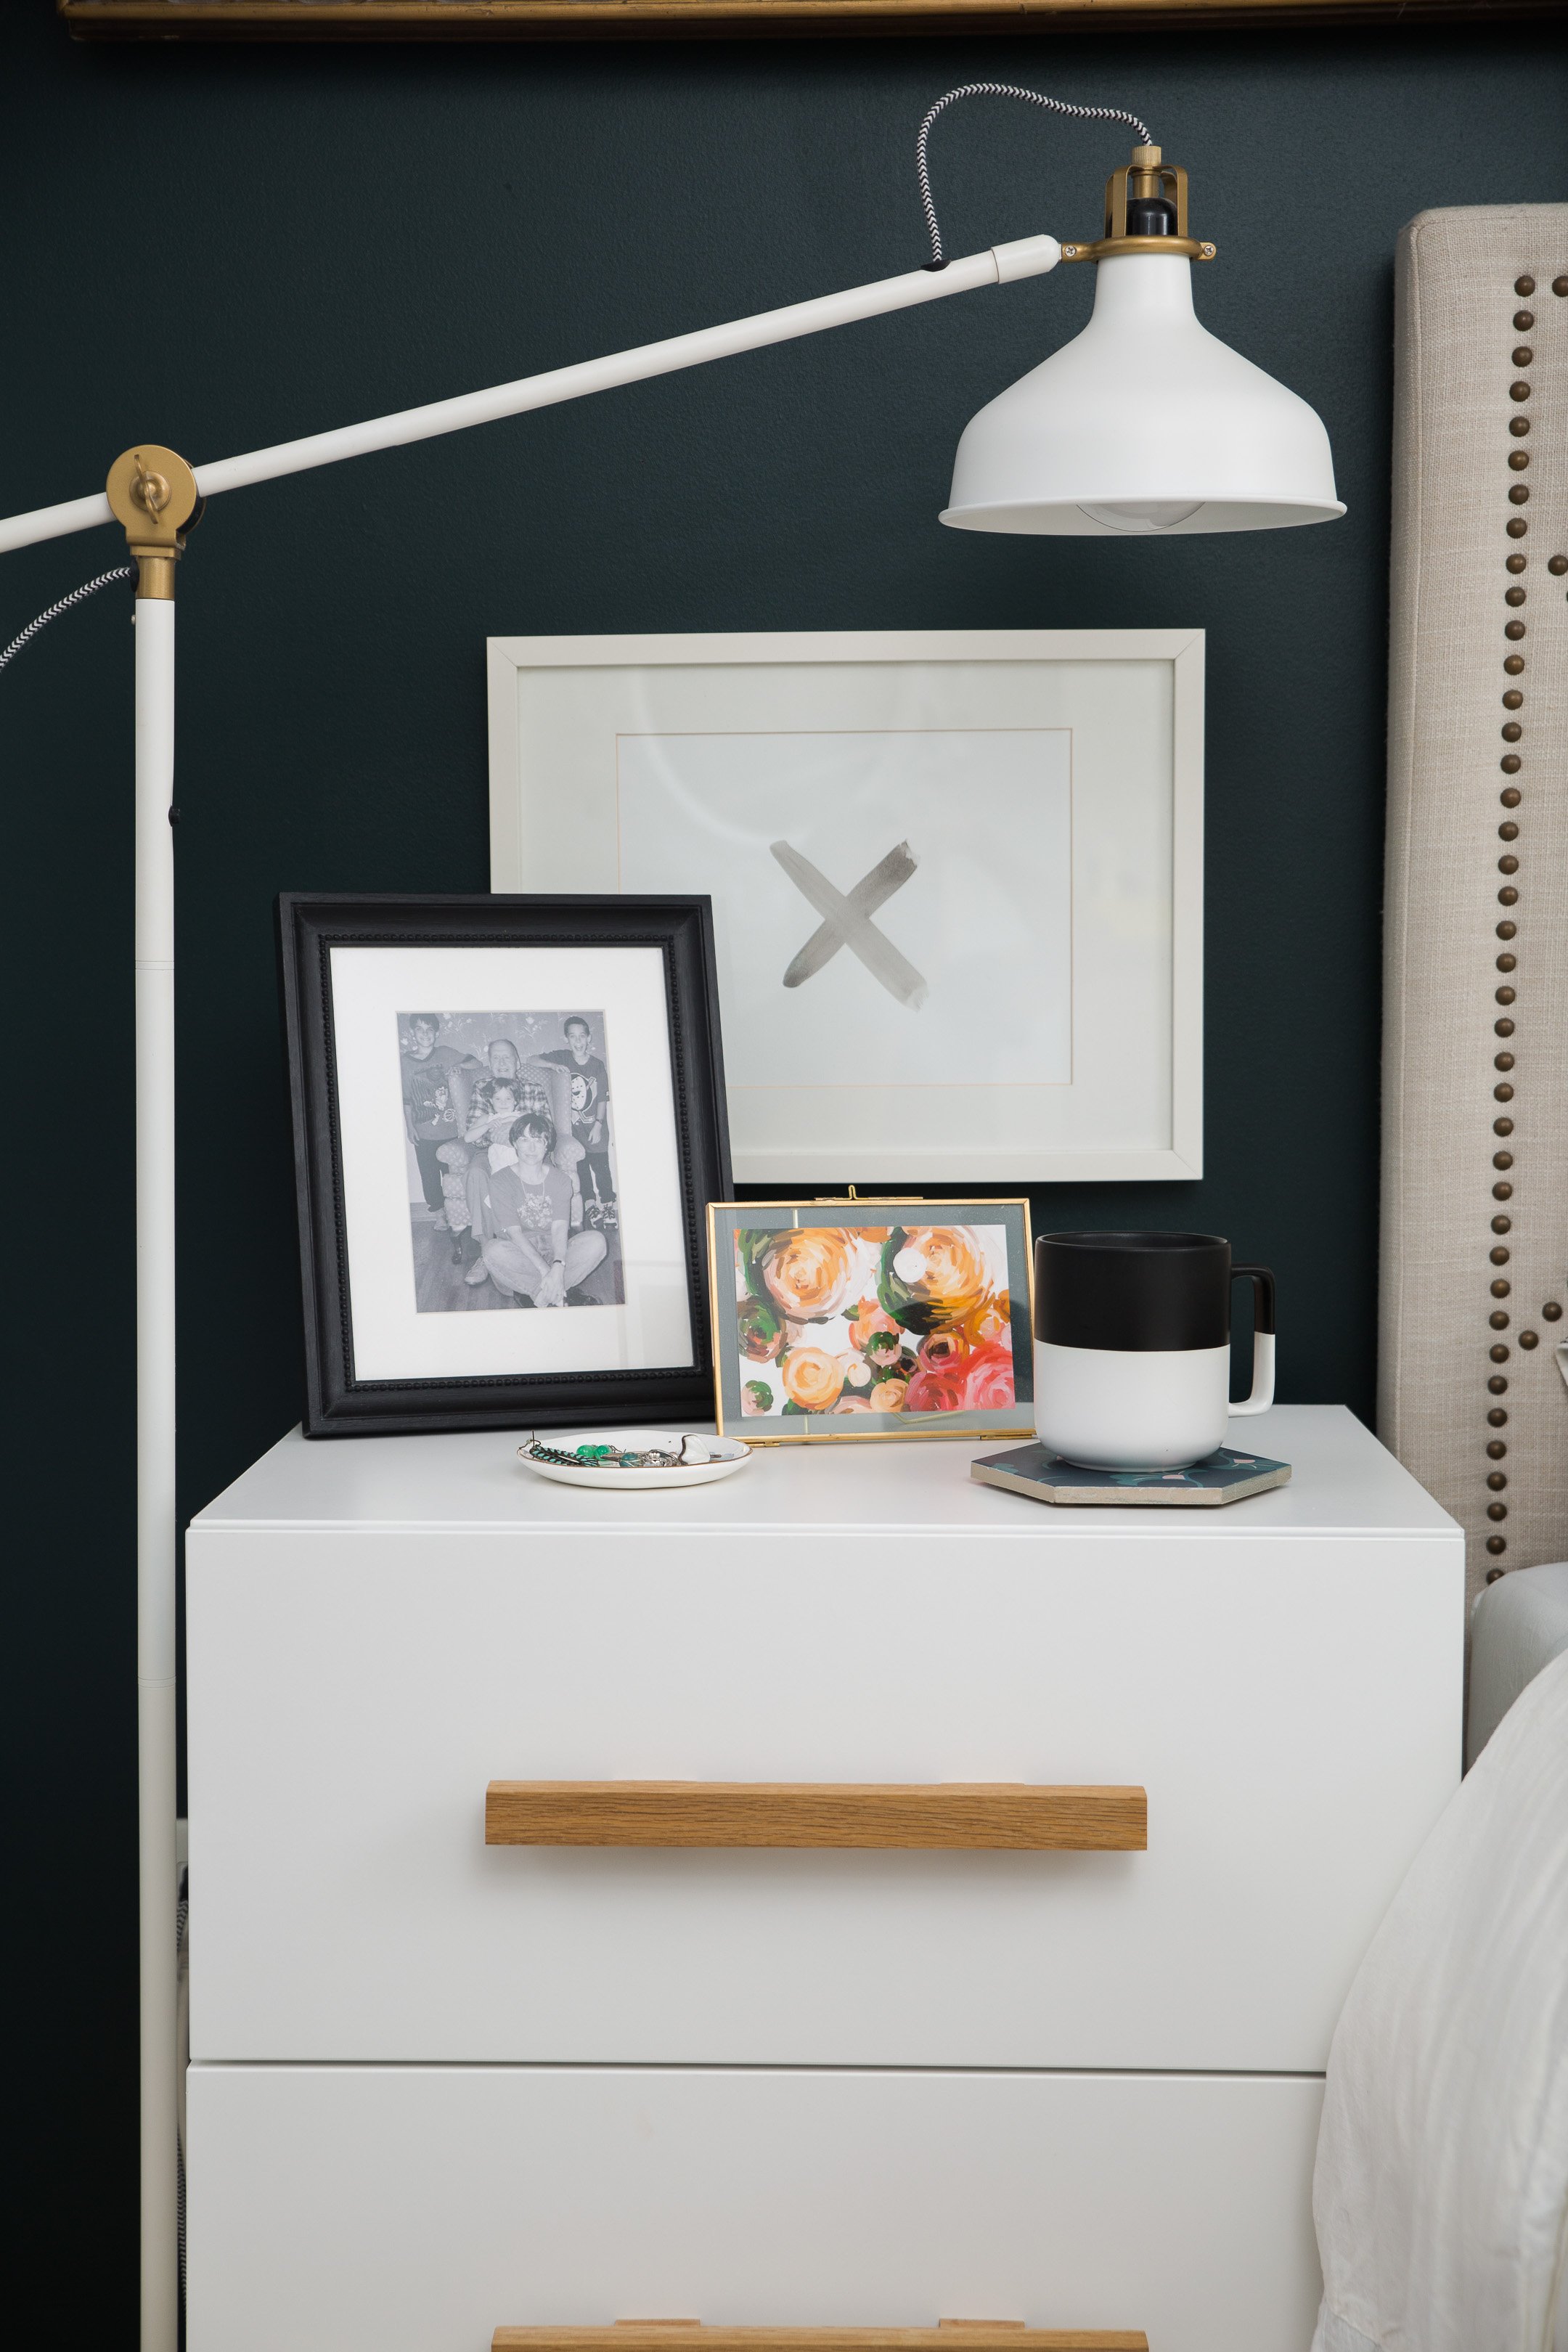
Investing in my space with a little sweat-equity painting the walls myself, re-imagining art we already owned, replacing a few of the basics with cost-effective furniture pieces, and splurging on new bedding, I was able to breathe new life into this previously basic beige box.
Existing pieces in the space:
Bedframe & headboard
Floor lamps
Art
Accent Pillows
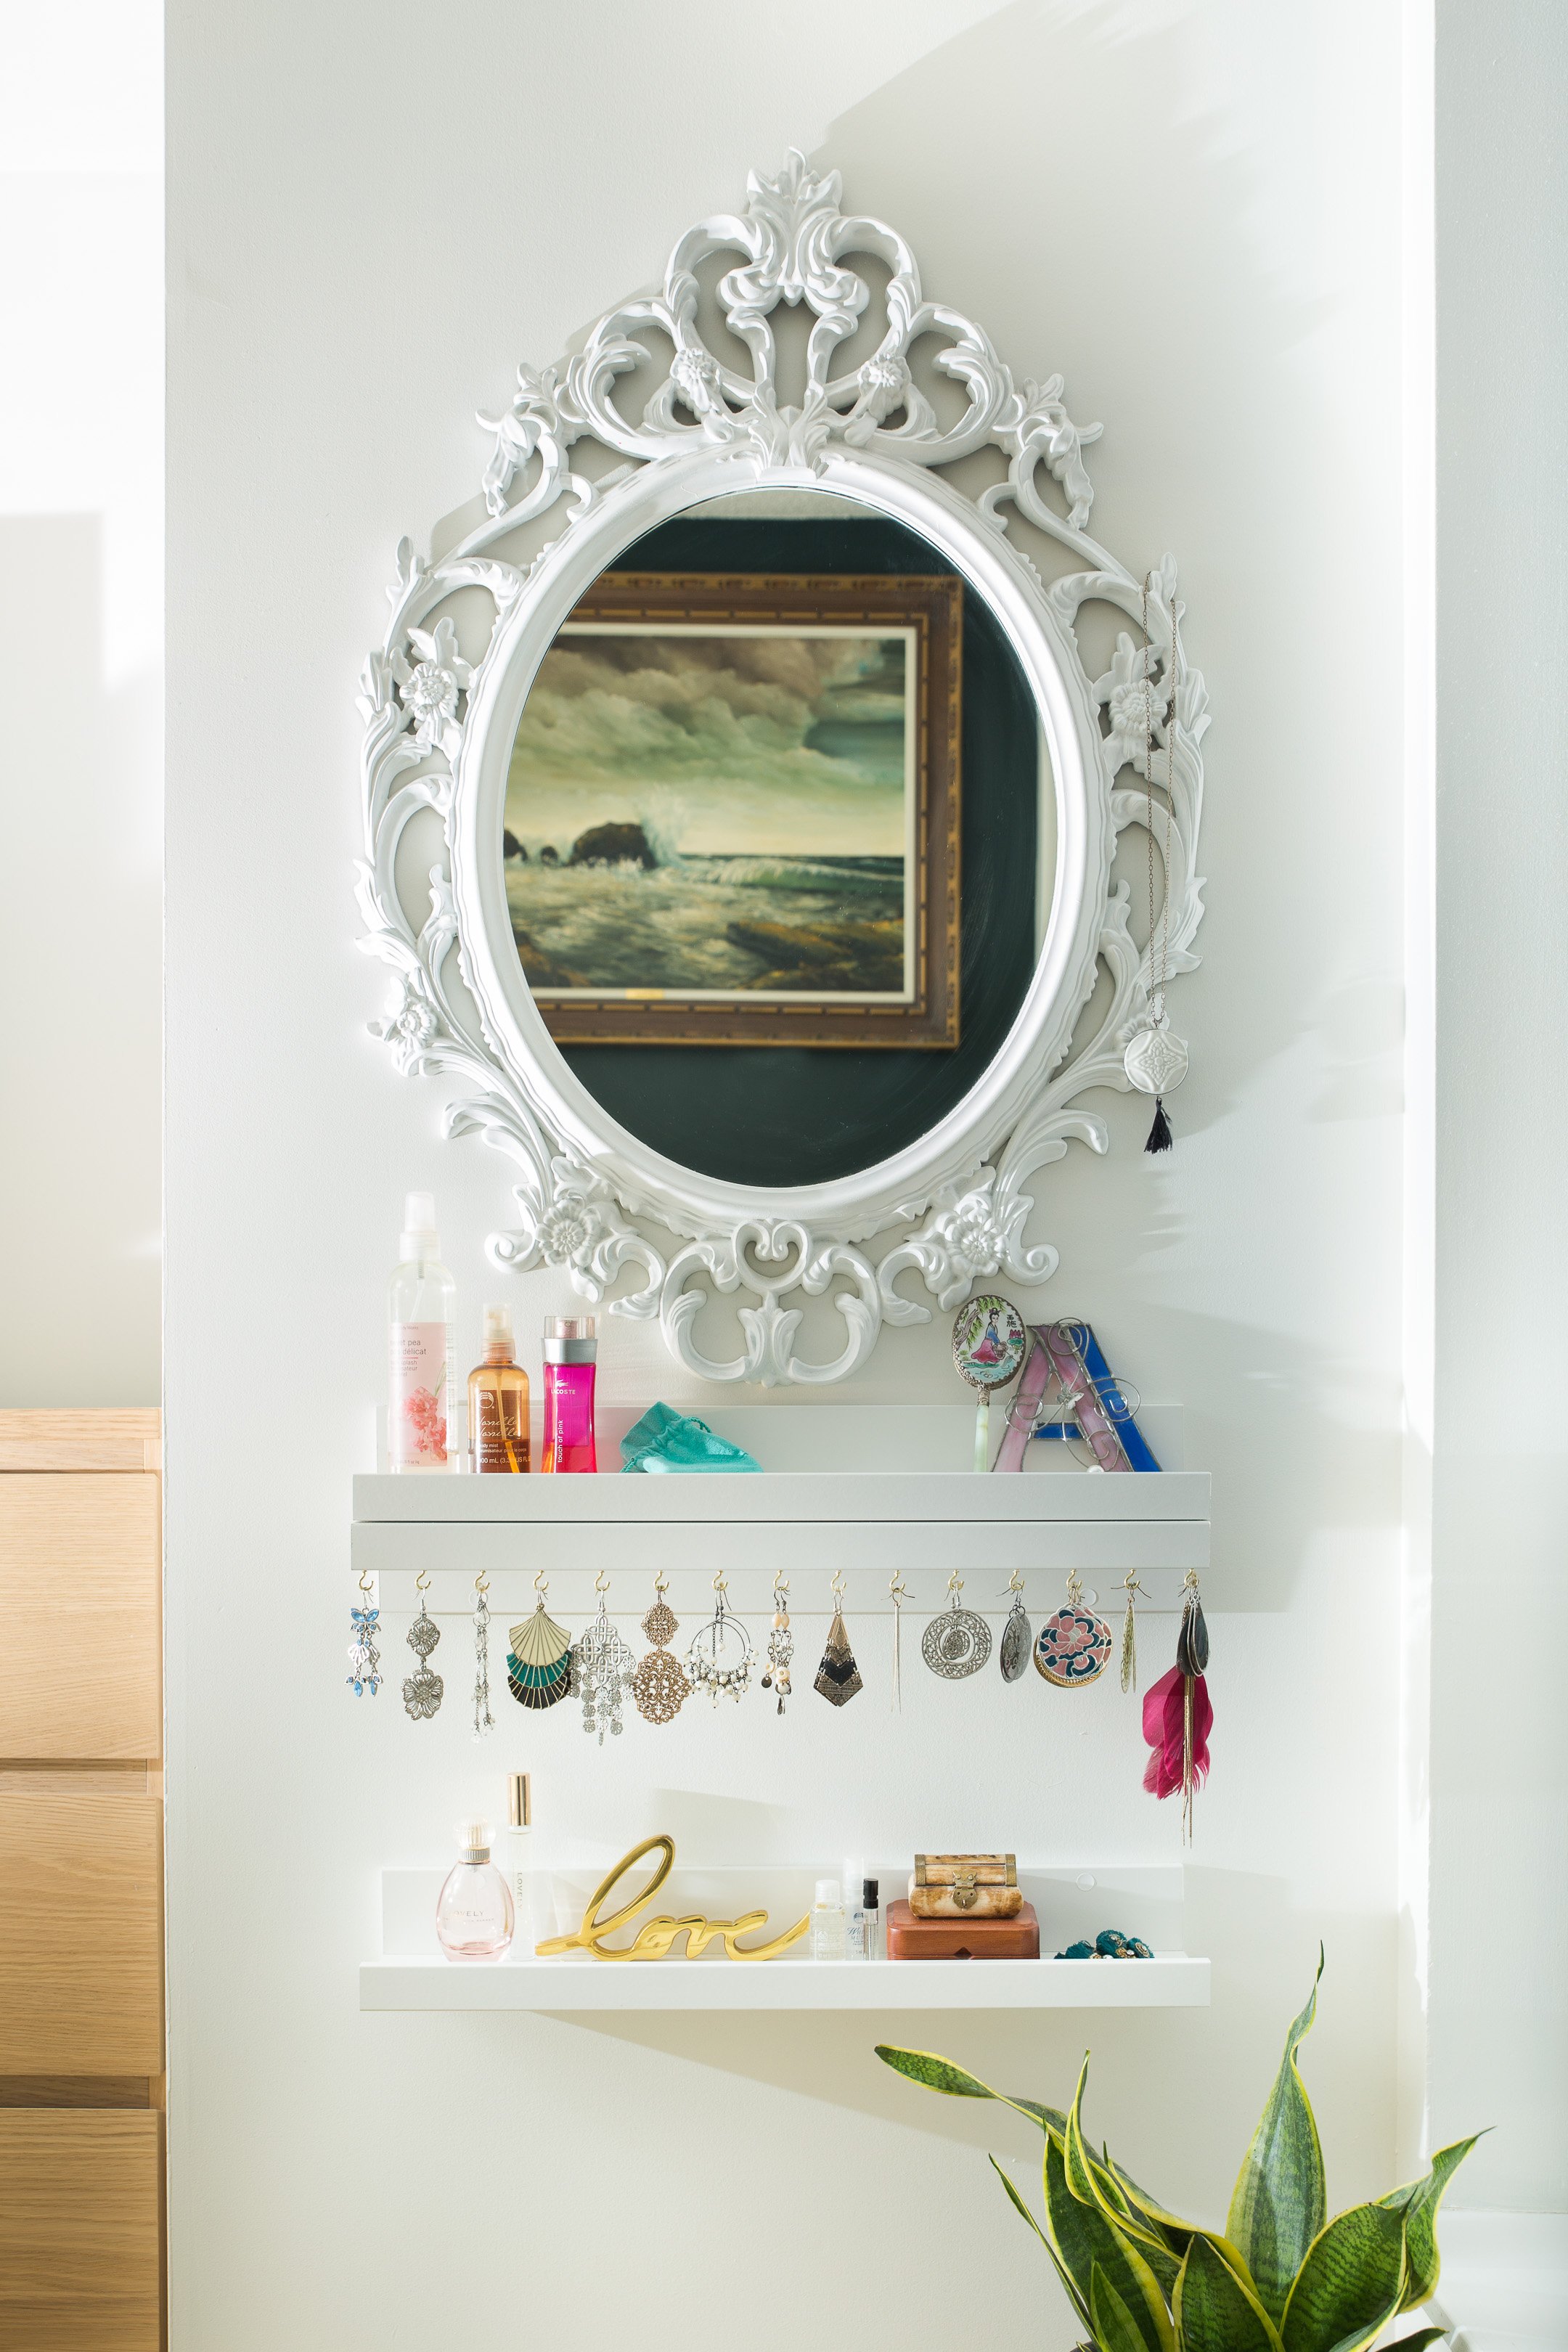
Mirror
New pieces in the space:
Bedding
Nightstands & hardware
Dressers (not pictured)
Picture ledges

numbers
I’m sure the number one question is “why?”. Why continue to stay in a condo that according to public opinion is “too small” to have a baby in? Why invest money into a condo that you don’t own? Well the short answer is rent control, but the longer answer is regardless of how long you think you’ll live in a space, I always believe that you should invest in your home.
I pay approx. $1,700/month in rent since I have lived here for ten years
A comparable condo (1 bedroom + den) approx. $2,000/month in rent
Total savings approx. $300/month or $3,600/year
A larger condo (2 bedroom + den) approx. $2,650/month in rent
Total savings approx. $950/month or $11,400/year
Total spent on added storage in living space (including pantry freezer) approx. $5,000
Investing in your space (even if it’s a rental) doesn’t have to break the bank, but it needs to be smart! Pretty design is great, but if it doesn’t function well it doesn’t matter. Great design is when forms follows function! Over the past four years I have managed to save us approximately $40,600 by getting the most out of the space we already had! Of course my time/fees as a designer are not included in that calculation, but hiring a designer to help you make the most of your home is an investment that always pays off.
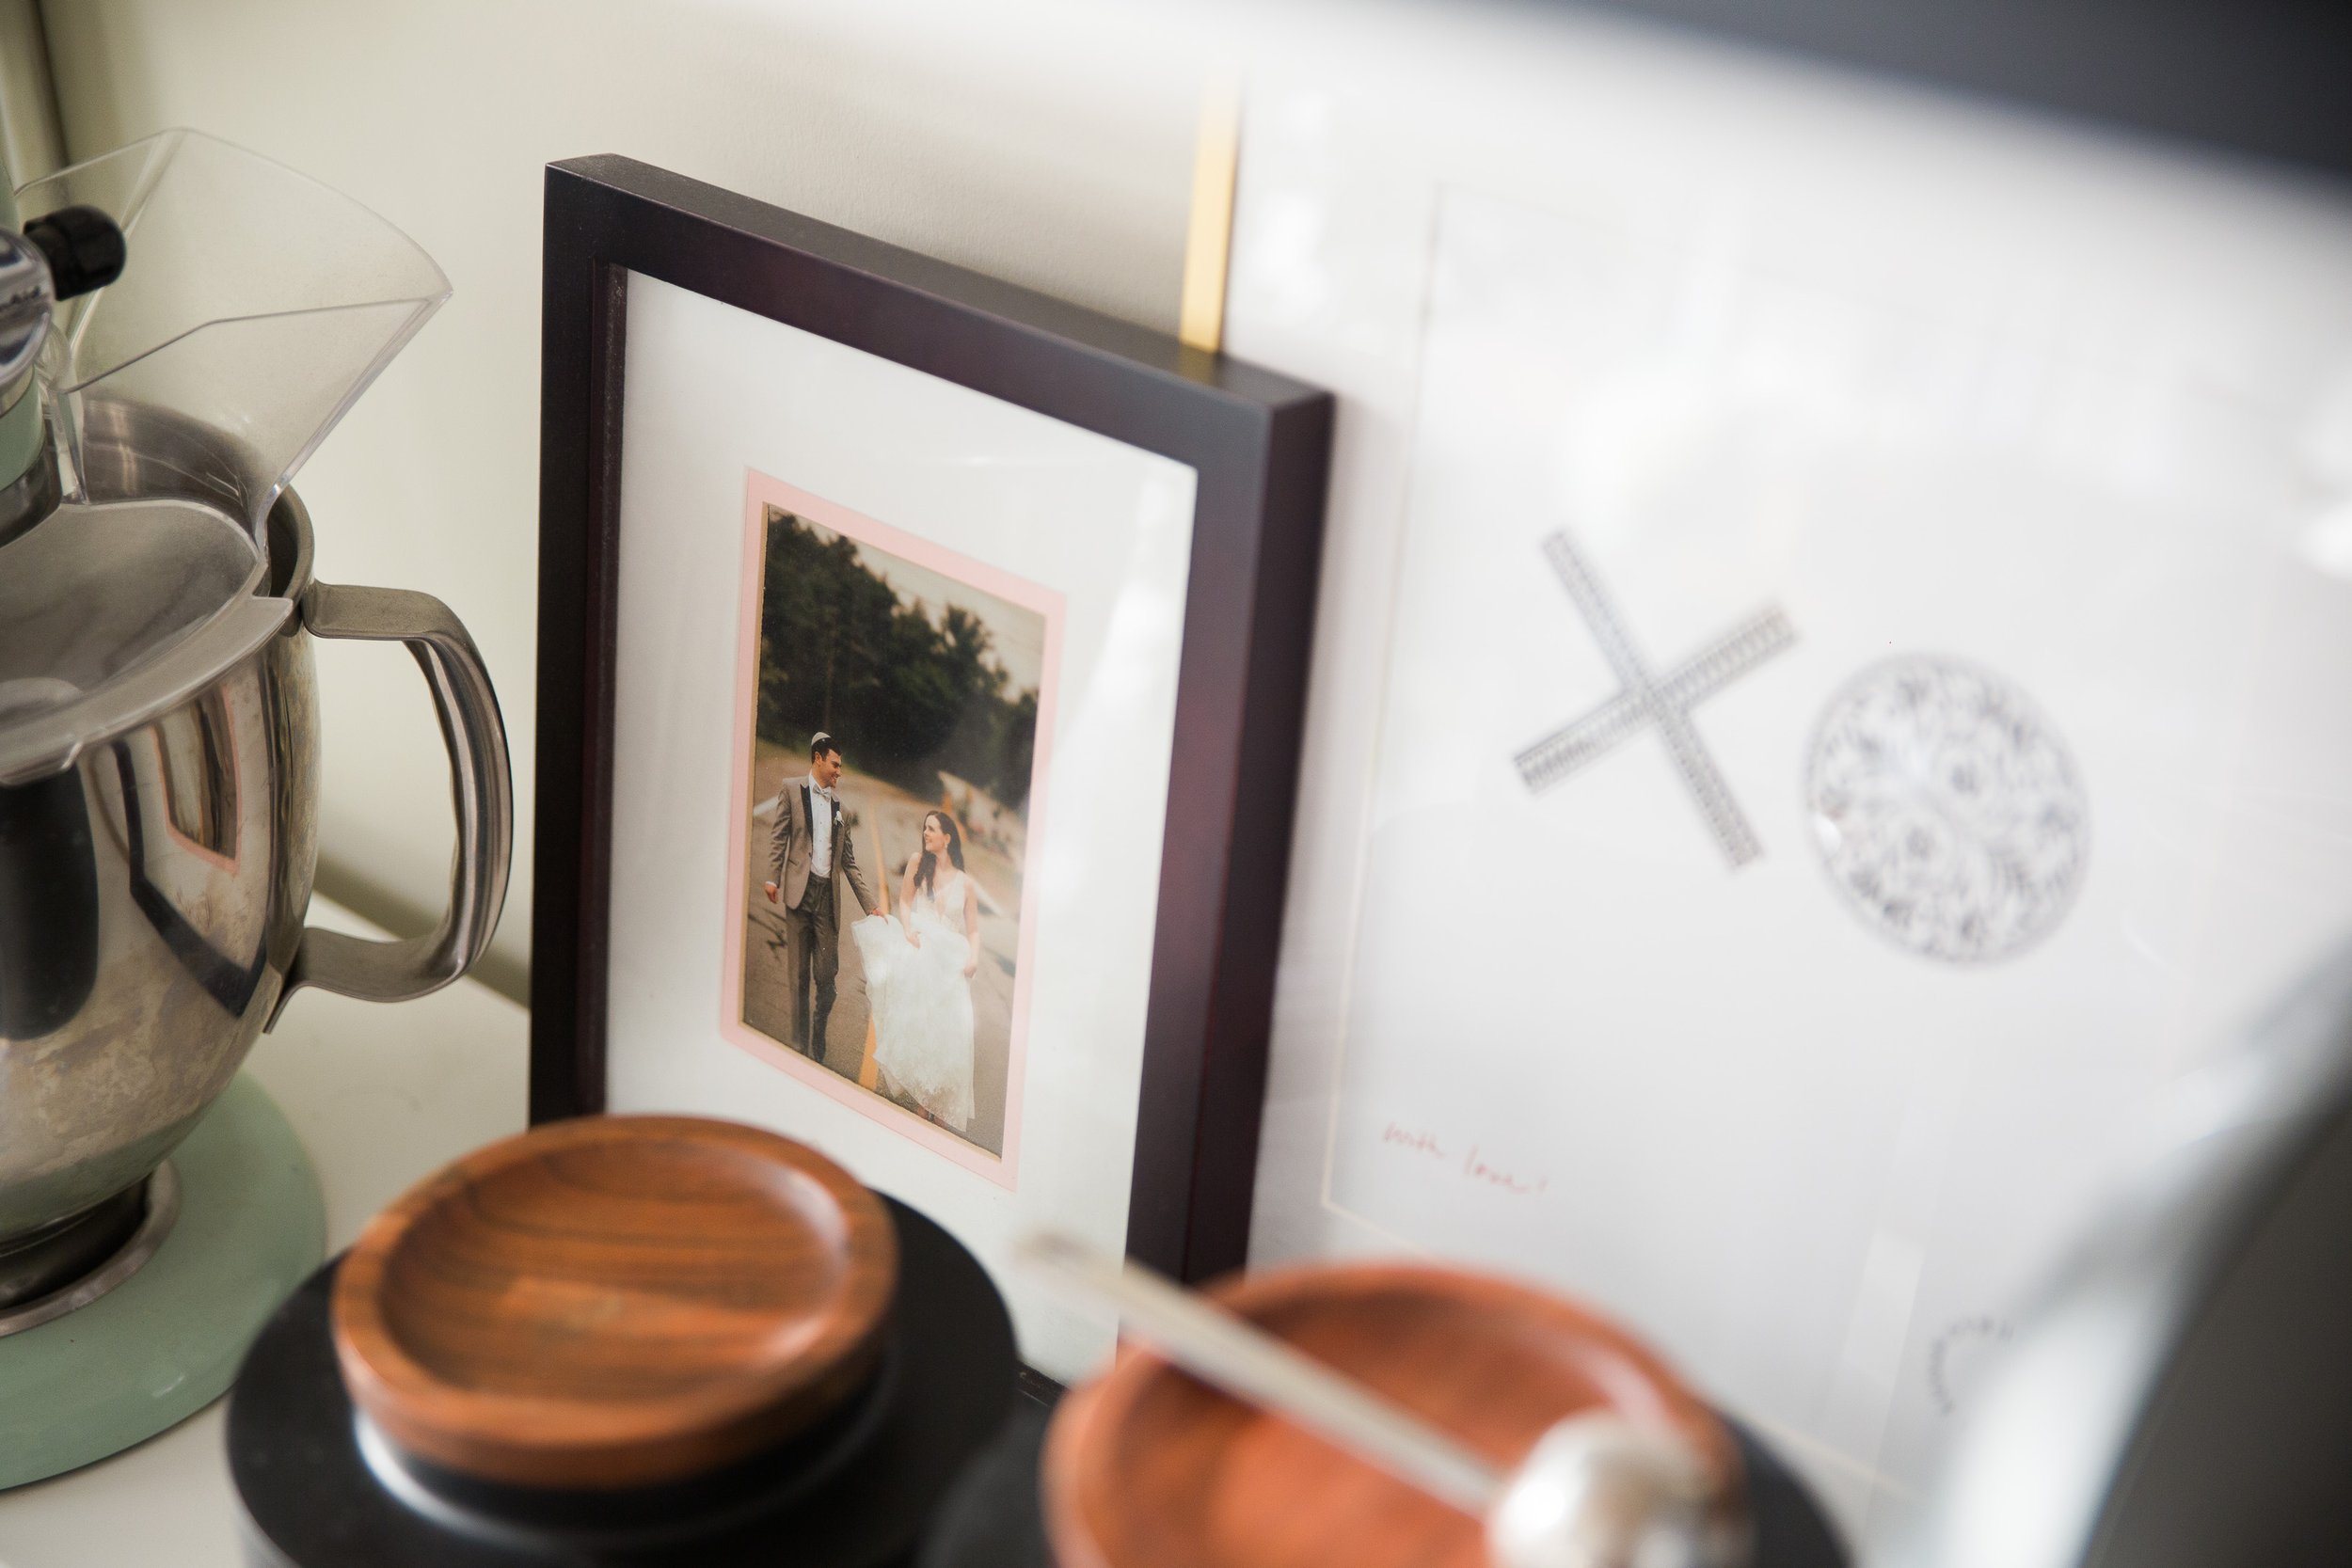
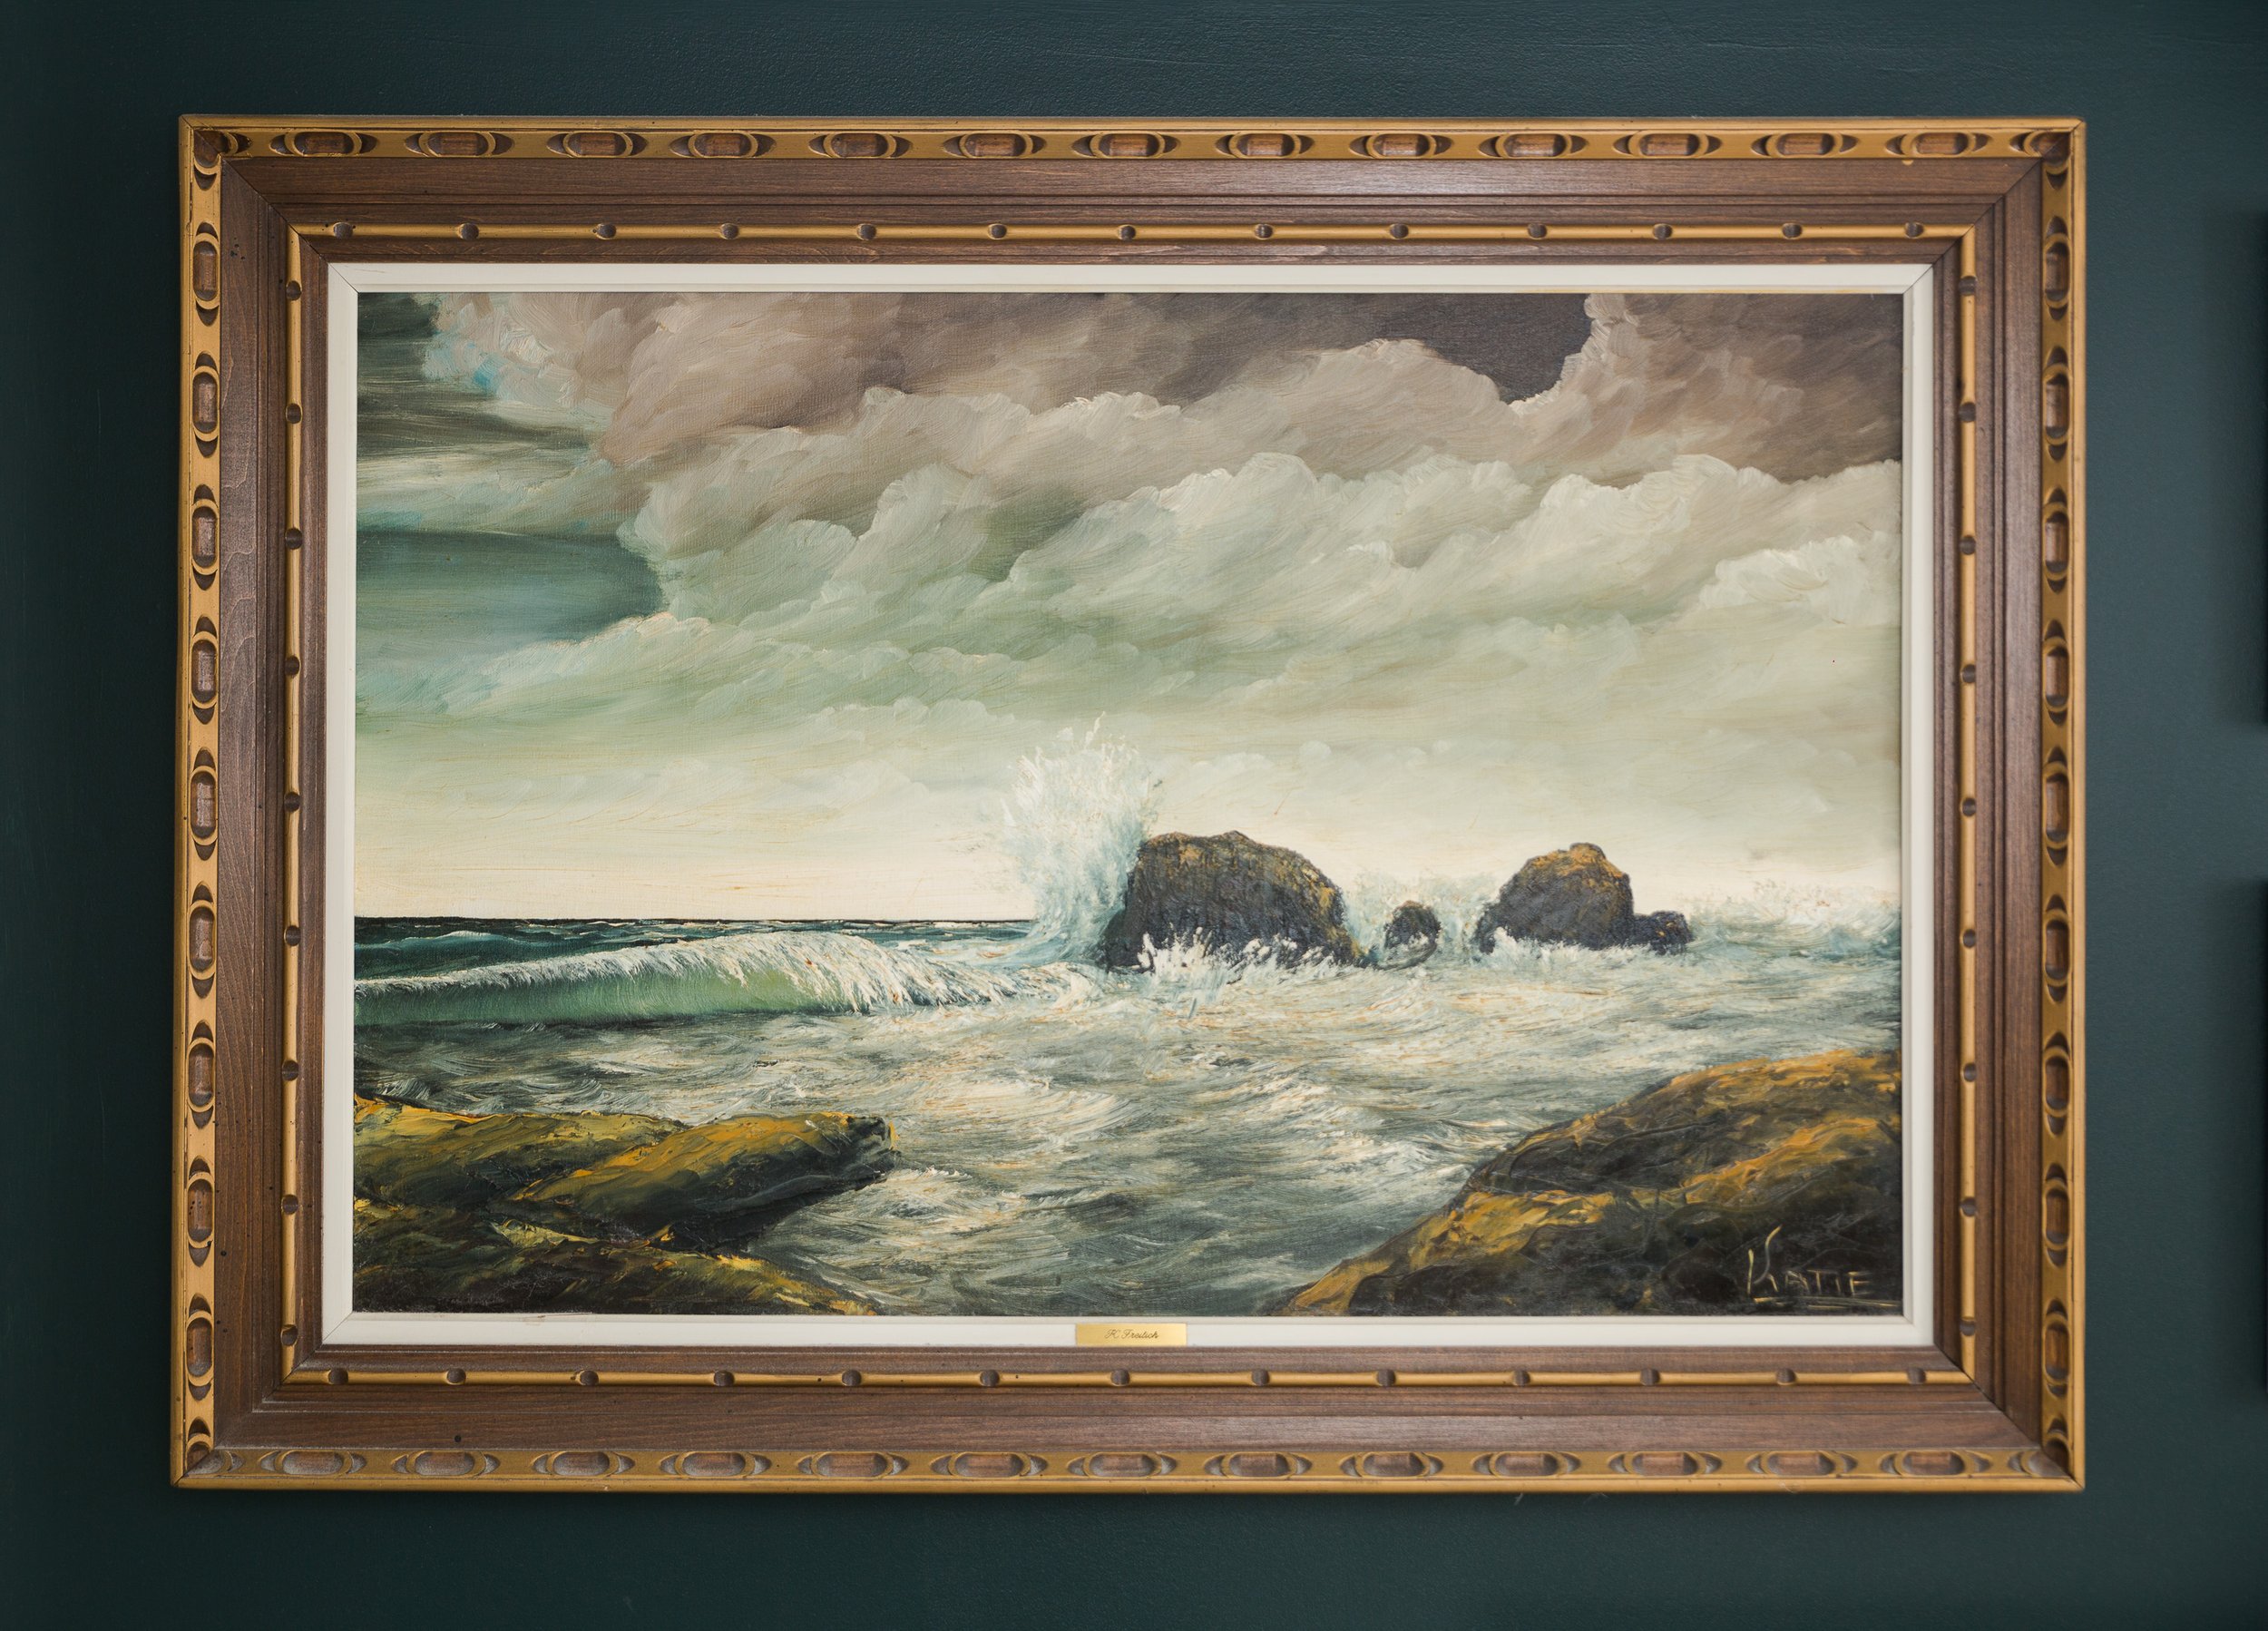
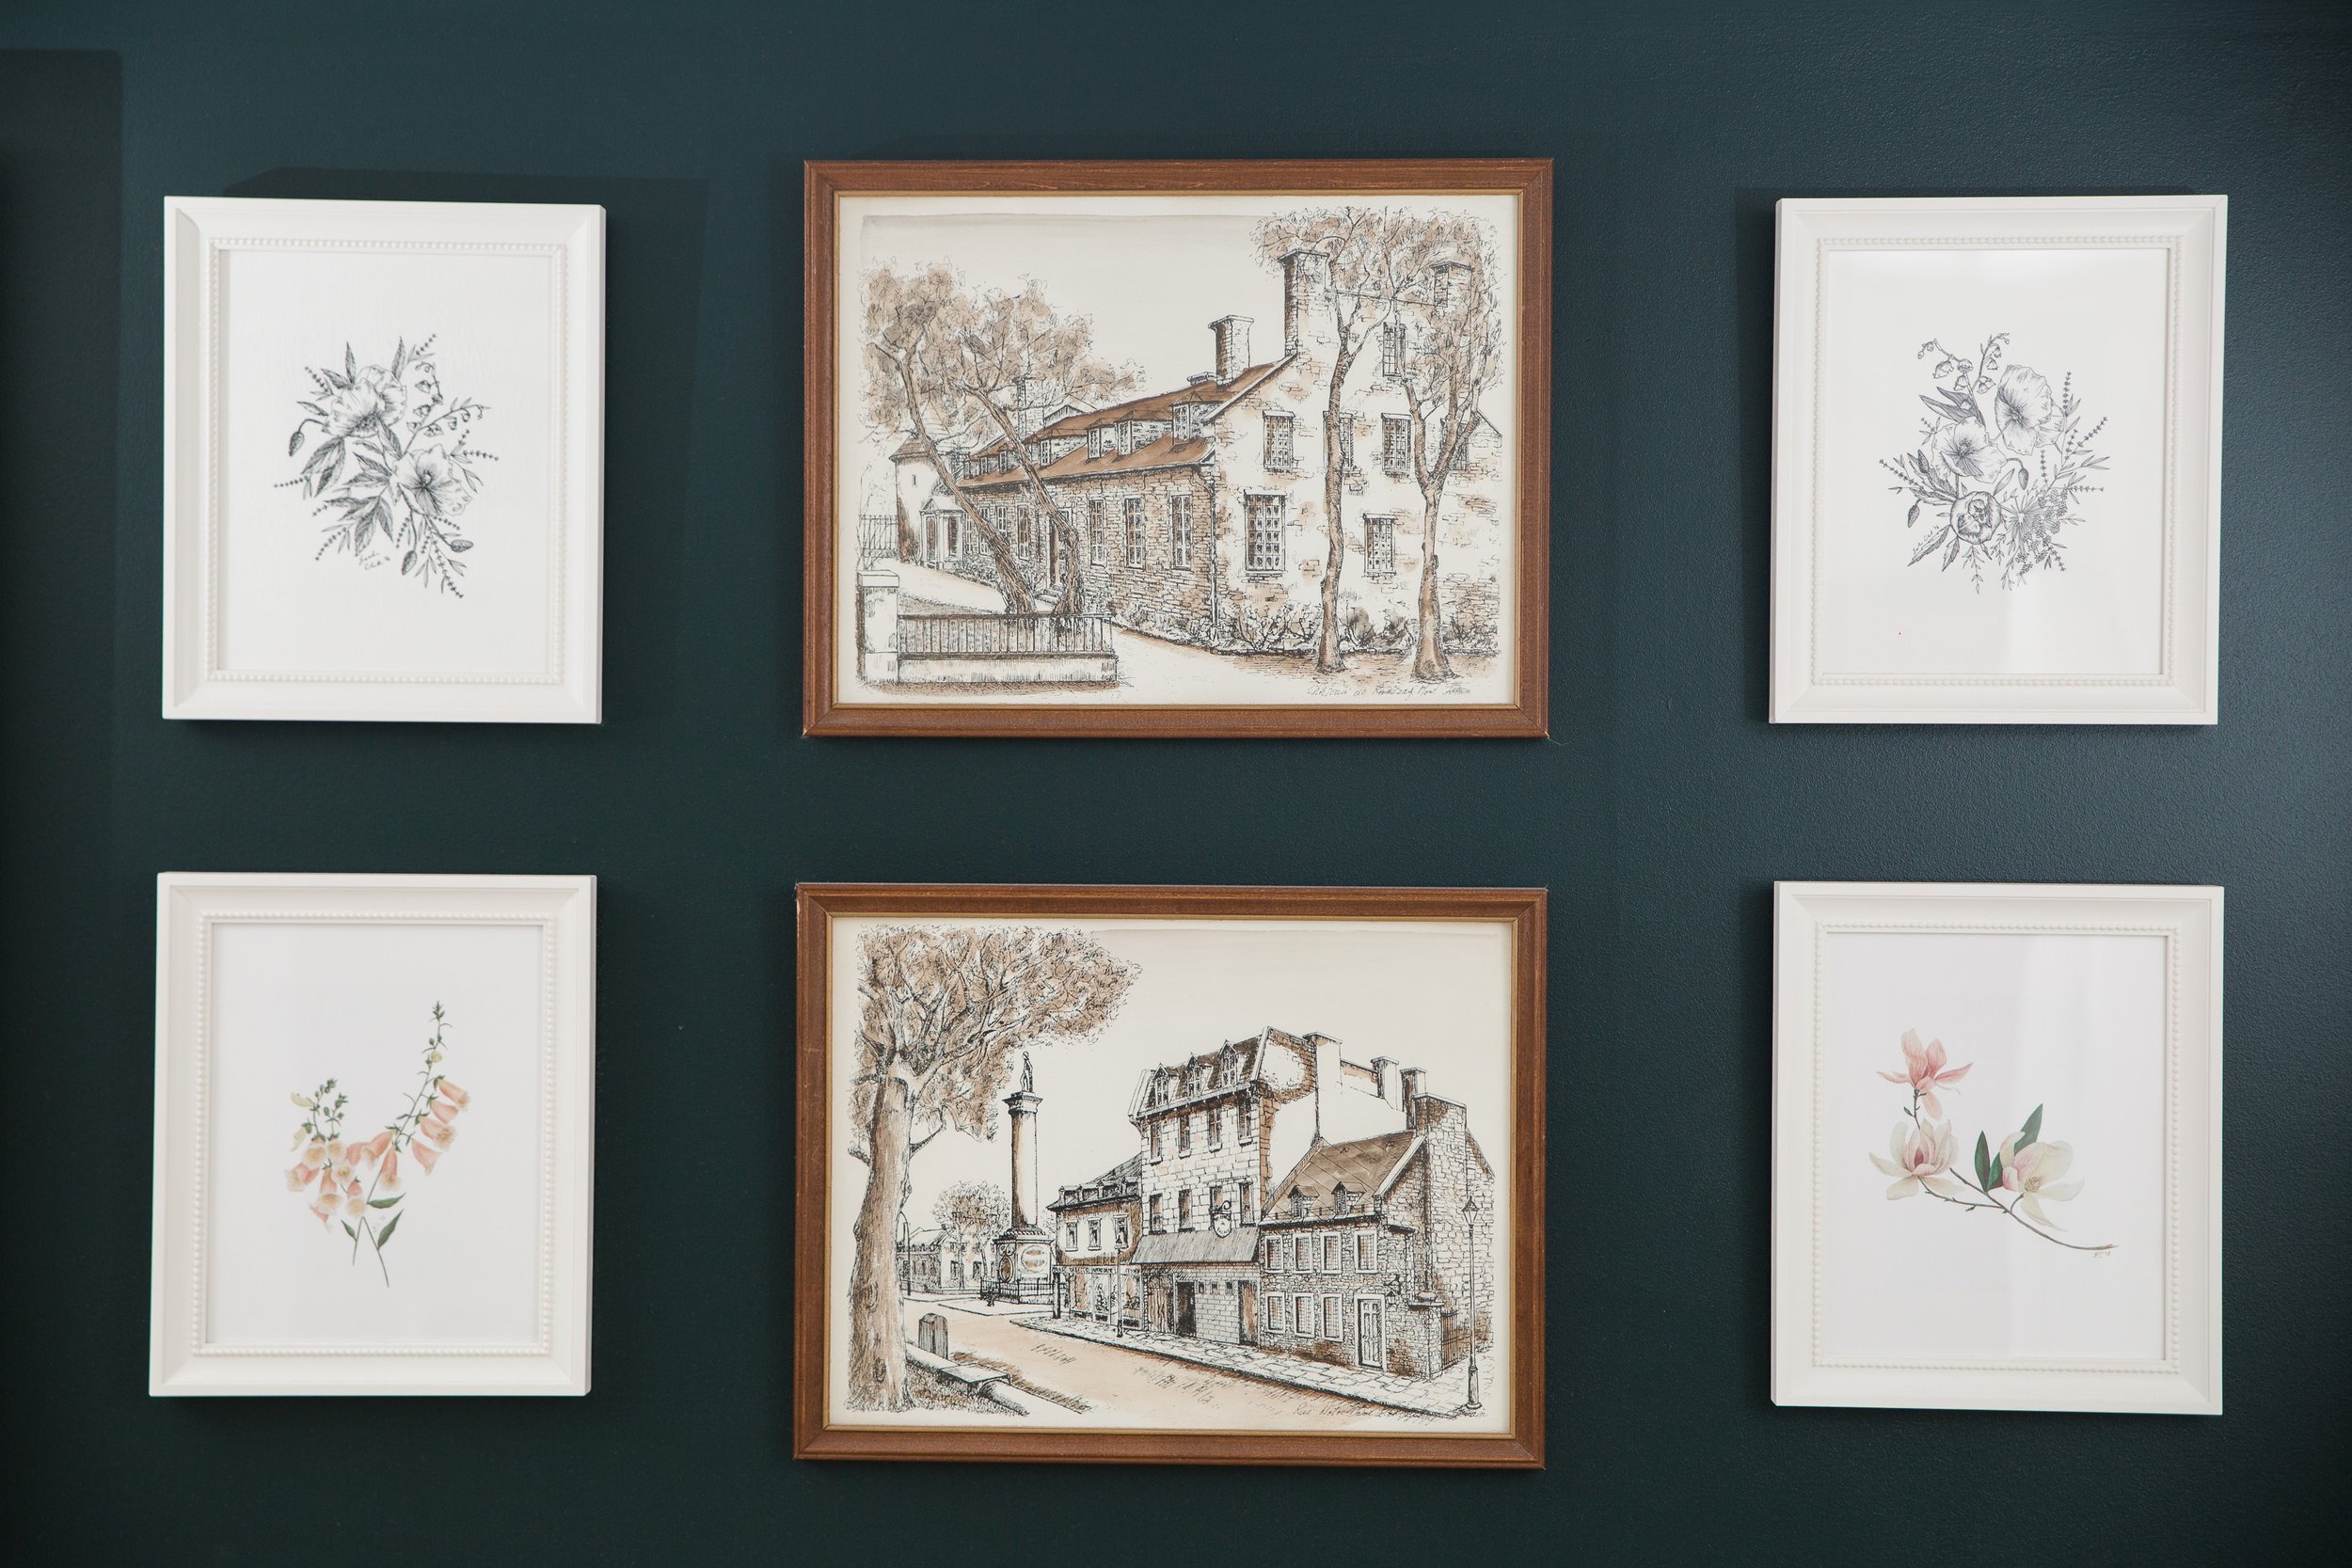
It’s wonderful when your home functions seamlessly for your lifestyle, but what makes a house (or a condo) feel like home are the personal details. Displaying paintings done by my husband’s grandmother, Disney illustrations done by my great uncle, family glasses that survived the war, our Ketubah (Jewish marriage contract) and personal photos proudly displayed.